

Agent-based workspaces are available on LangSmith Cloud. They are not available on self-hosted LangSmith. To check whether your workspace is agent-based, look at the control at the top left. In an agent-based workspace, it is a workspace switcher that names your workspace. In a project-based workspace, it shows the LangSmith logo.
fleet-agents:create permission, which covers all no-code agents, including those built in Studio. Without it, Studio shows “Ask a workspace admin for permission to create agents.”
Start a new agent
Open the Build an agent screen from either place:- Studio: In the left navigation, with All agents selected, click Studio, then click Build a new agent.
- New agent menu: In the new agent menu, under Build, click Without code.
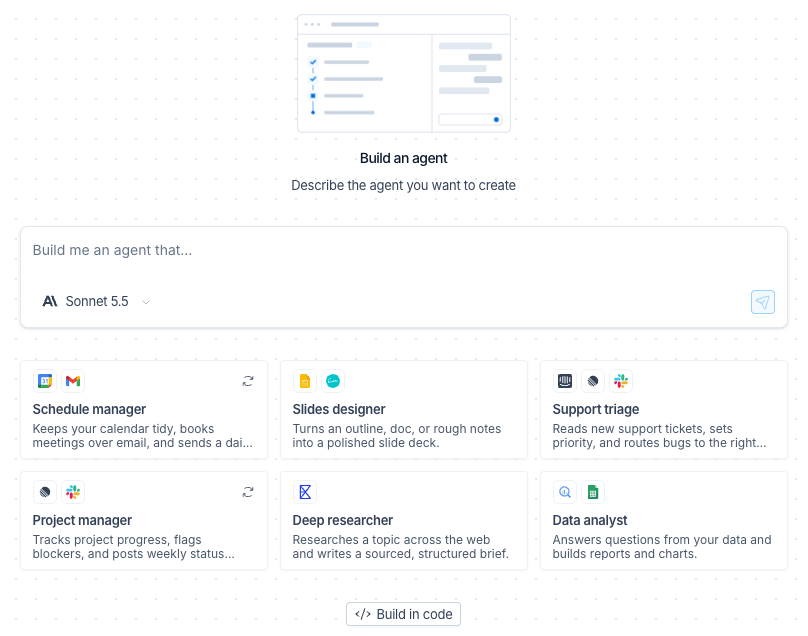
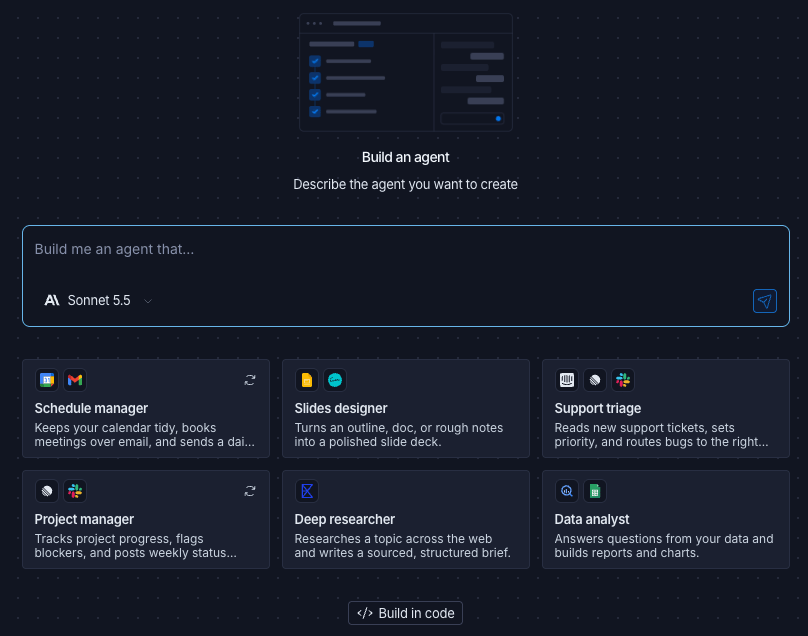
Describe the agent
To describe the agent:- In the box that reads “Build me an agent that…”, describe what the agent should do, up to 8,000 characters. To start from an example, click a template card instead: Schedule manager, Slides designer, Support triage, Project manager, Deep researcher, or Data analyst. Each card lists the apps its agent uses. The card fills in the prompt, and you can edit it before you send it.
- (Optional) From the model menu in the bottom-left corner of the box, choose the model Chat uses to draft the agent. Auto uses the LangSmith-hosted model when it is available. Otherwise, the menu starts on your workspace’s default model for Chat. This choice applies to Chat only. You set the agent’s own model in the Basics step.
- Click the Build with AI icon.
Generate the draft
Chat drafts the agent’s name, description, and instructions first. Once all three are filled in, LangSmith creates the agent and opens its configuration at the Instructions step.The agent exists from this point, before you click Save. It appears in the agent list and the agent switcher for everyone in the workspace. If you leave the page without clicking Cancel, the agent stays in the workspace. To remove it, see Save or cancel.
Configure the agent
The Configure agent view lists the configuration as steps:- Basics: The agent’s Name, a Description of what it does, and the Model that powers its responses. The name is the label you see in the agent switcher. The Model list shows the same models that are enabled for Fleet.
- Instructions: What the agent should do and how it should work.
- Connections: The apps and tools the agent can use, added with Add connection. Details follow the list.
- Channels: Where people can chat with the agent, added with Add channel. The options are Slack, Gmail, Outlook, and Microsoft Teams. Microsoft Teams carries an Admin badge and is available only for agents with shared connections. Studio saves channel setup separately from the rest of the configuration. For more information, see Channels.
- Schedules: The scheduled runs the agent makes on its own, added with Add schedule.
- Shared (fixed credentials): Everyone uses one set of connected accounts.
- Per-user (user credentials): Each person connects their own accounts.
- Auto: The agent runs the tool without asking.
- Ask: The agent asks for approval before it runs the tool.
- Remove: The tool is removed from the agent.
Save or cancel
To save, click Save in the Configure agent header, or Save agent on the card above the Chat composer. The card appears only when there is something to save. Saving closes Chat and returns you to Studio, where you can test the agent. To leave without keeping the agent, click Cancel. Because the agent already exists, the Cancel agent creation? dialog asks you to confirm:- Delete agent: Permanently deletes the agent and discards its configuration.
- Keep building: Returns you to the configuration.
Test the agent
After you save, Studio opens a chat with the agent. Send it a message to try it out. The traces panel beside the chat fills with the run’s traces as the agent responds. In Studio, you test a no-code agent through chat, so Interact, which needs an agent with a graph view, is unavailable for it.Change the configuration later
Editing an agent requires thefleet-agents:update permission and edit access on the agent. Without them, the configuration opens with a Read-only configuration banner.
To open an existing agent in Studio, use either path:
- In the left navigation, with All agents selected, click Studio, click Select existing agent, and pick the agent from the list.
- Select the agent in the agent switcher, then click Studio in the left navigation.
- In the Studio chat, click Edit.
- On the agent’s Overview, click the Agent settings icon, then click Edit configuration.
Find traces and environments
Studio creates the agent with only a Production environment, and its runs land there. It gains other environments only when something reports into them. To find the agent’s traces, select the agent and open Tracing. To see its environments, read the summary on the agent Overview. LangSmith runs the agent on a Studio runtime, so you cannot create an Agent Server for it. The agent environment deploy flags do not apply, and the Agent Server link in its Overview header is disabled.See also
Connect these docs to your agent of choice via MCP for real-time answers.