

- Set up custom authentication (you are here) - Control who can access your bot
- Make conversations private - Let users have private conversations
- Connect an authentication provider - Add real user accounts and validate using OAuth2 for production
Custom auth is only available for LangSmith SaaS deployments or Enterprise Self-Hosted deployments.
1. Create your app
Create a new chatbot using the LangGraph starter template: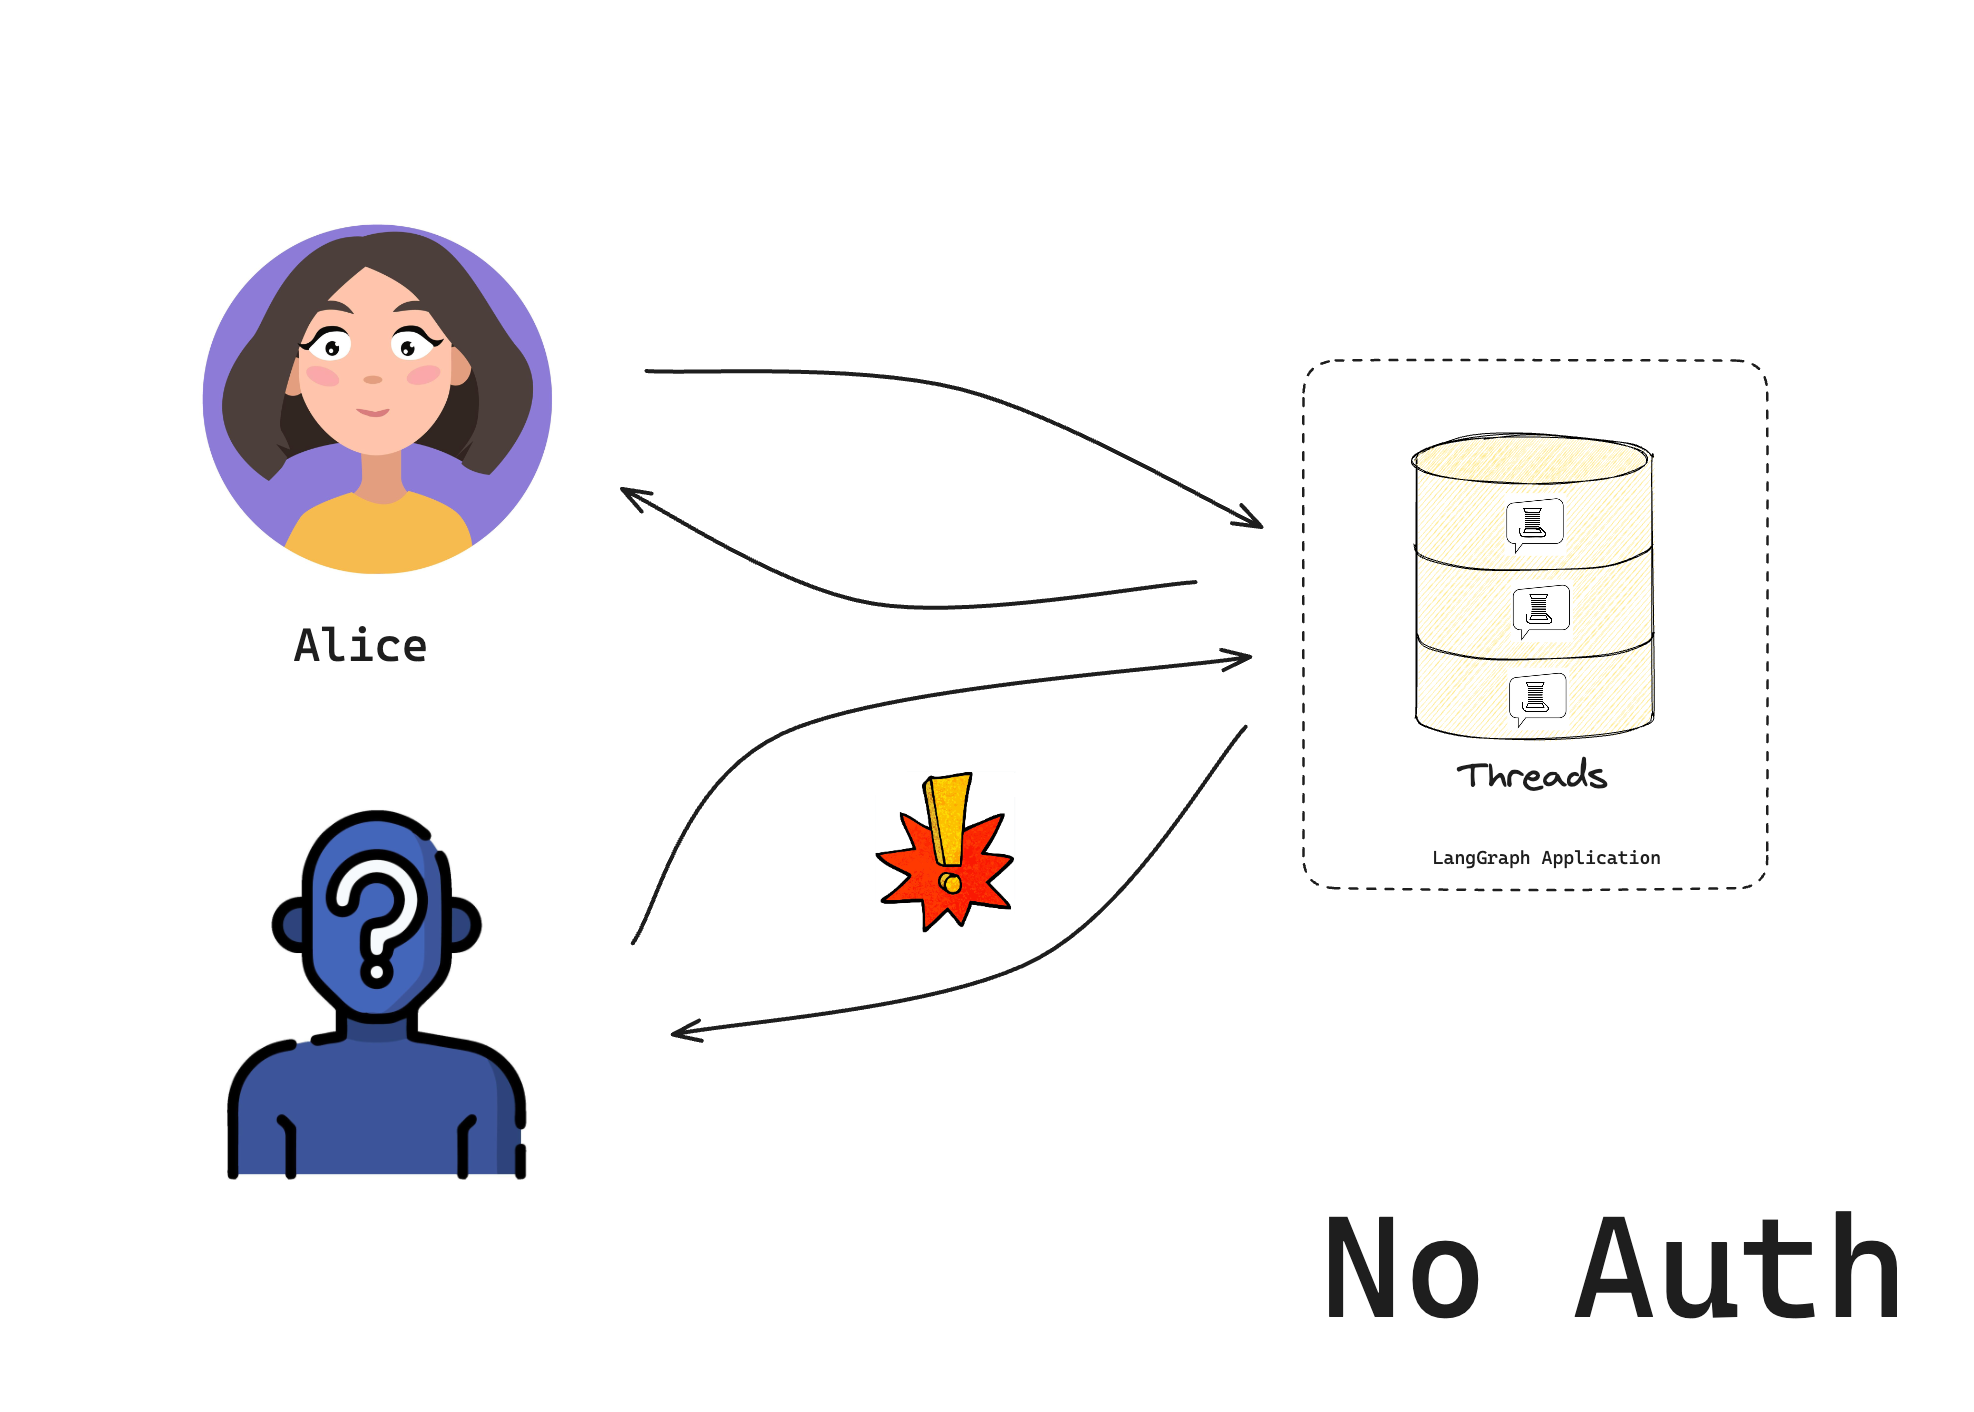
2. Add authentication
Now that you have a base LangGraph app, add authentication to it.In this tutorial, you will start with a hard-coded token for example purposes. You will get to a “production-ready” authentication scheme in the third tutorial.
src/security/auth.py. This is where your code will live to check if users are allowed to access your bot:
src/security/auth.py
- Checks if a valid token is provided in the request’s Authorization header
- Returns the user’s MinimalUserDict
langgraph.json
3. Test your bot
Start the server again to test everything out:--no-browser, the Studio UI will open in the browser. By default, we also permit access from Studio, even when using custom auth. This makes it easier to develop and test your bot in Studio. You can remove this alternative authentication option by setting disable_studio_auth: true in your auth configuration:
x-api-key) alongside your custom handler outside of Studio, set allow_langsmith_api_keys: true. Requests with an Authorization header still use custom auth. All other requests use LangSmith auth. Set the x-auth-scheme: langsmith header to force LangSmith auth even when Authorization is present. LangSmith-authenticated callers expose ctx.user.identity as the LangSmith user ID (or missing) and ctx.permissions as ["authenticated"]. Custom @auth.on handlers still run, so design them to accept that shape if both paths should share resource rules. This option requires disable_studio_auth unset or false.
allow_langsmith_api_keys requires Agent Server 0.14.0rc2 or later.4. Chat with your bot
You should now only be able to access the bot if you provide a valid token in the request header. Users will still, however, be able to access each other’s resources until you add resource authorization handlers in the next section of the tutorial.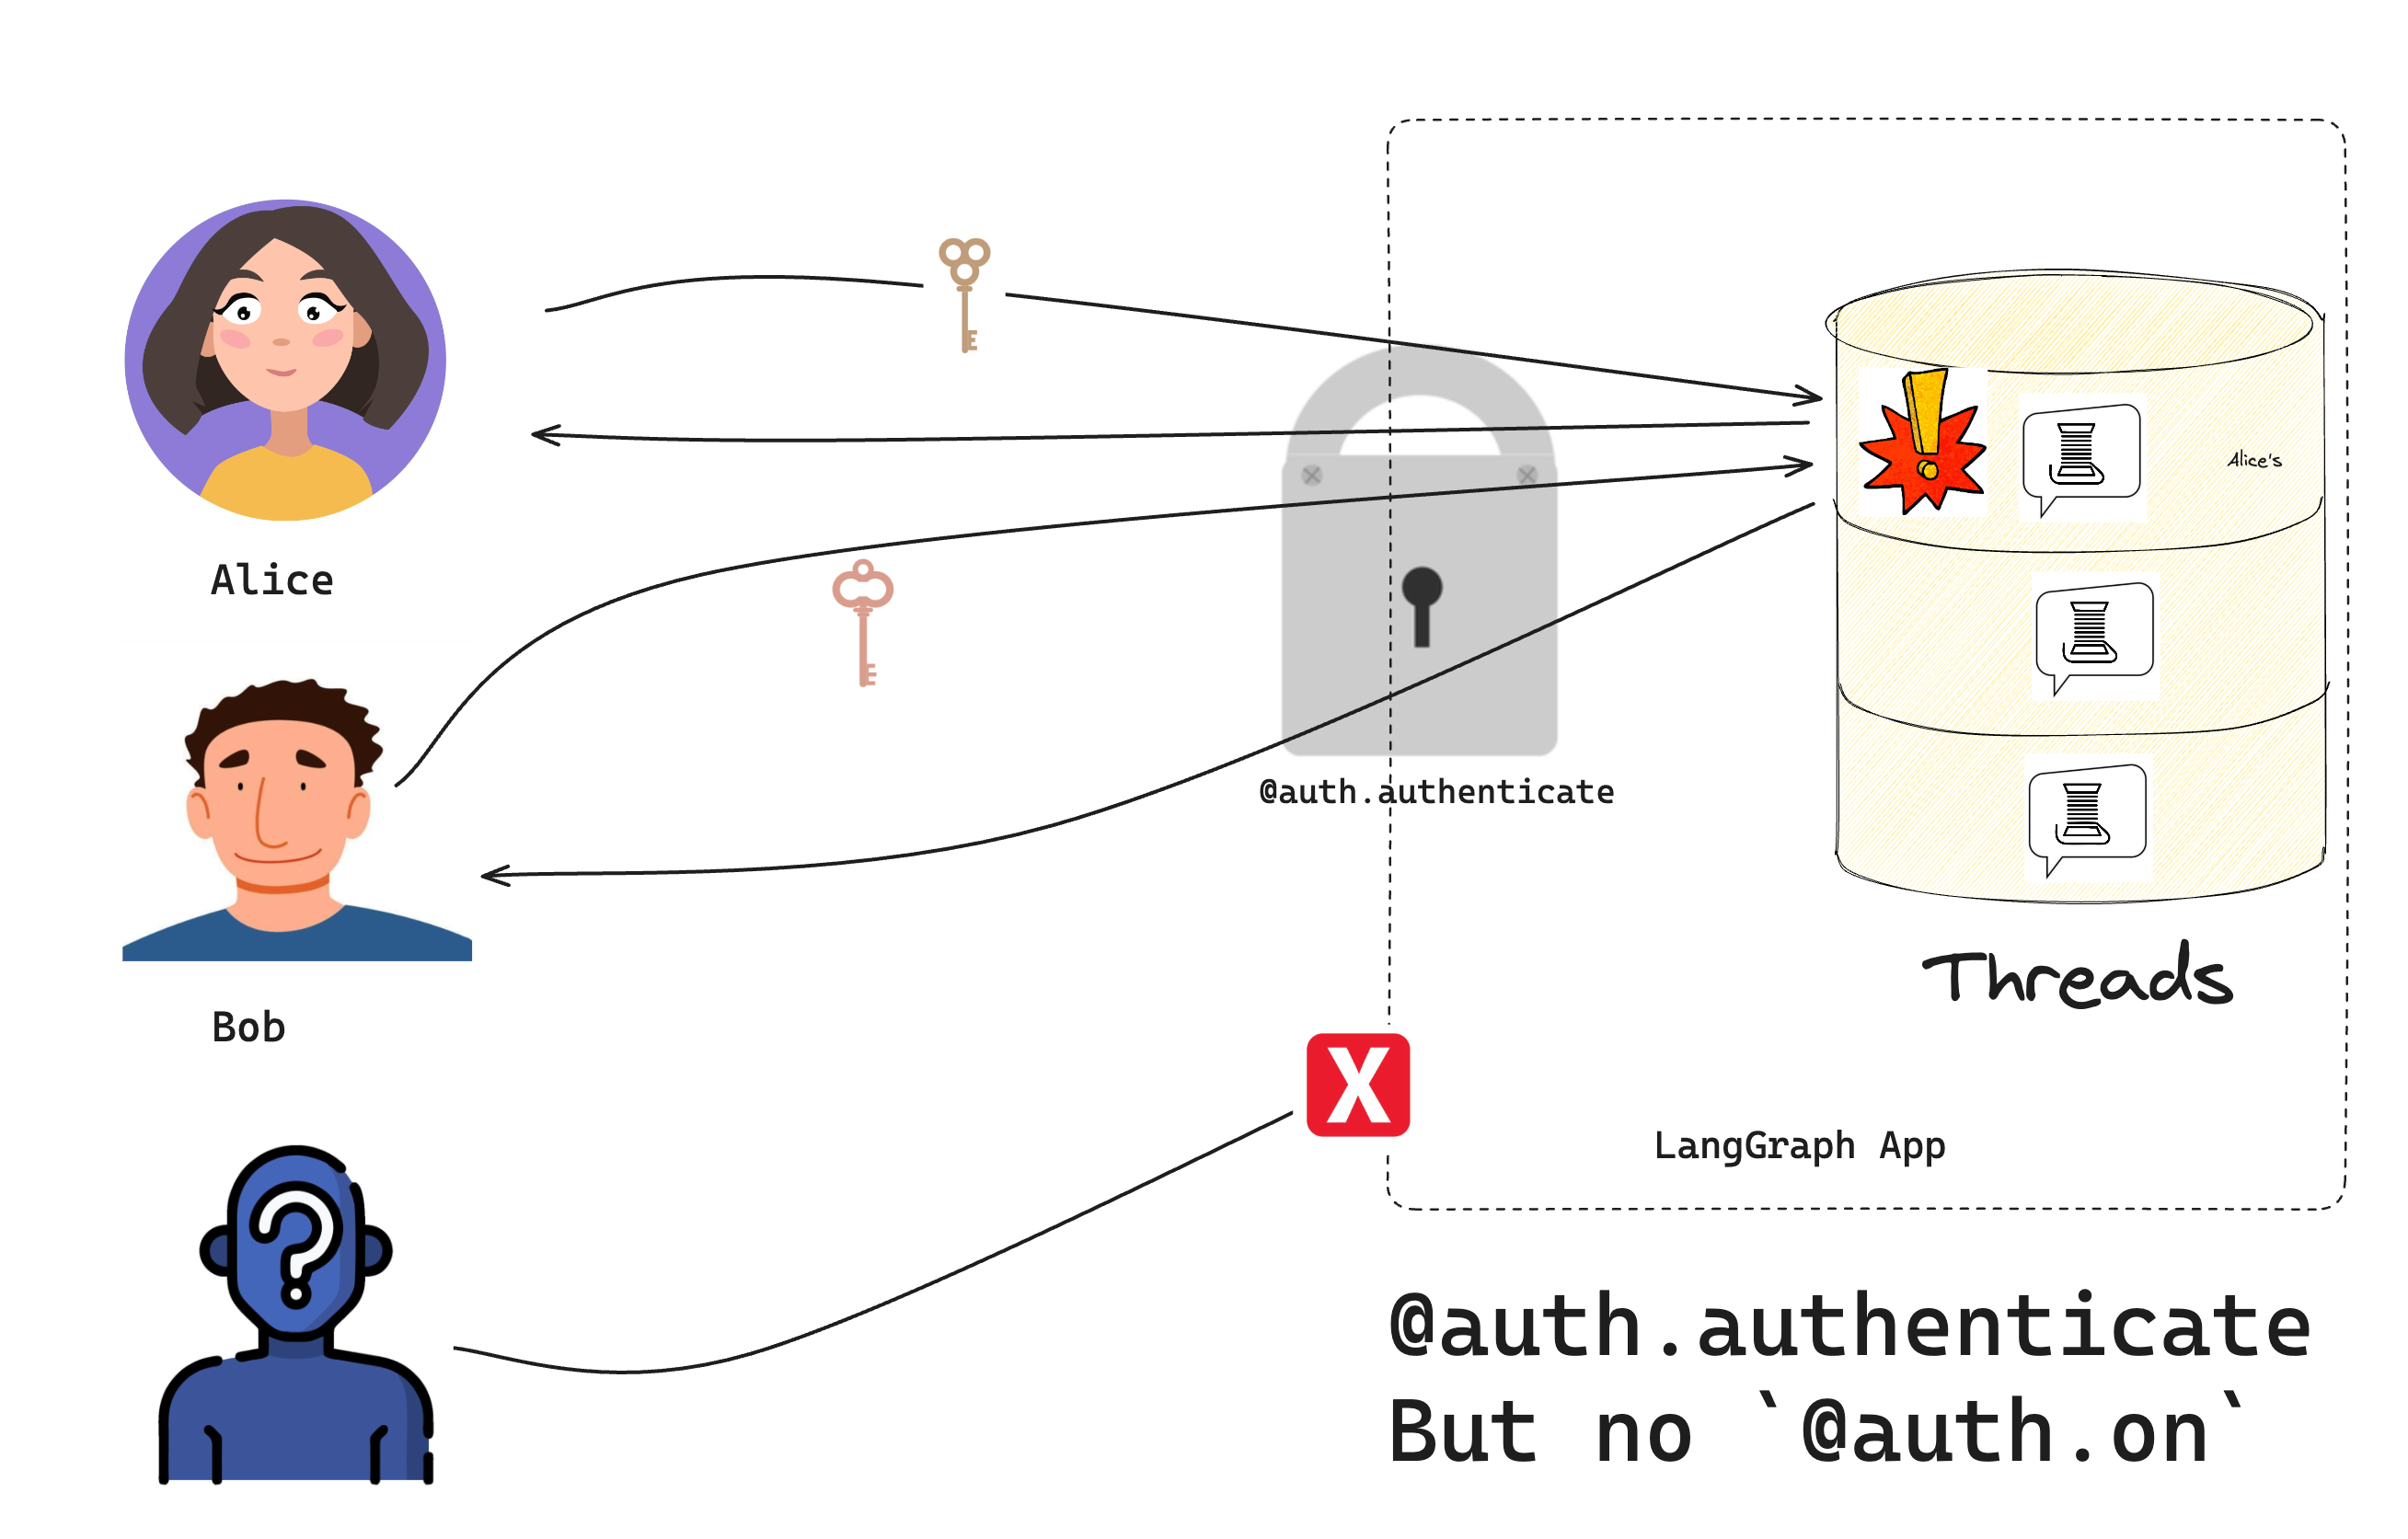
- Without a valid token, we can’t access the bot
- With a valid token, we can create threads and chat
Next steps
Now that you can control who accesses your bot, you might want to:- Continue the tutorial by going to Make conversations private to learn about resource authorization.
- Read more about authentication concepts.
- Check out the API reference for Auth, Auth.authenticate, and MinimalUserDict for more authentication details.
Connect these docs to your agent of choice via MCP for real-time answers.