

1. Open the Context Hub
If you don’t see Context in the left-hand navigation, verify that Context Hub is enabled for your workspace and that you have the required permissions.
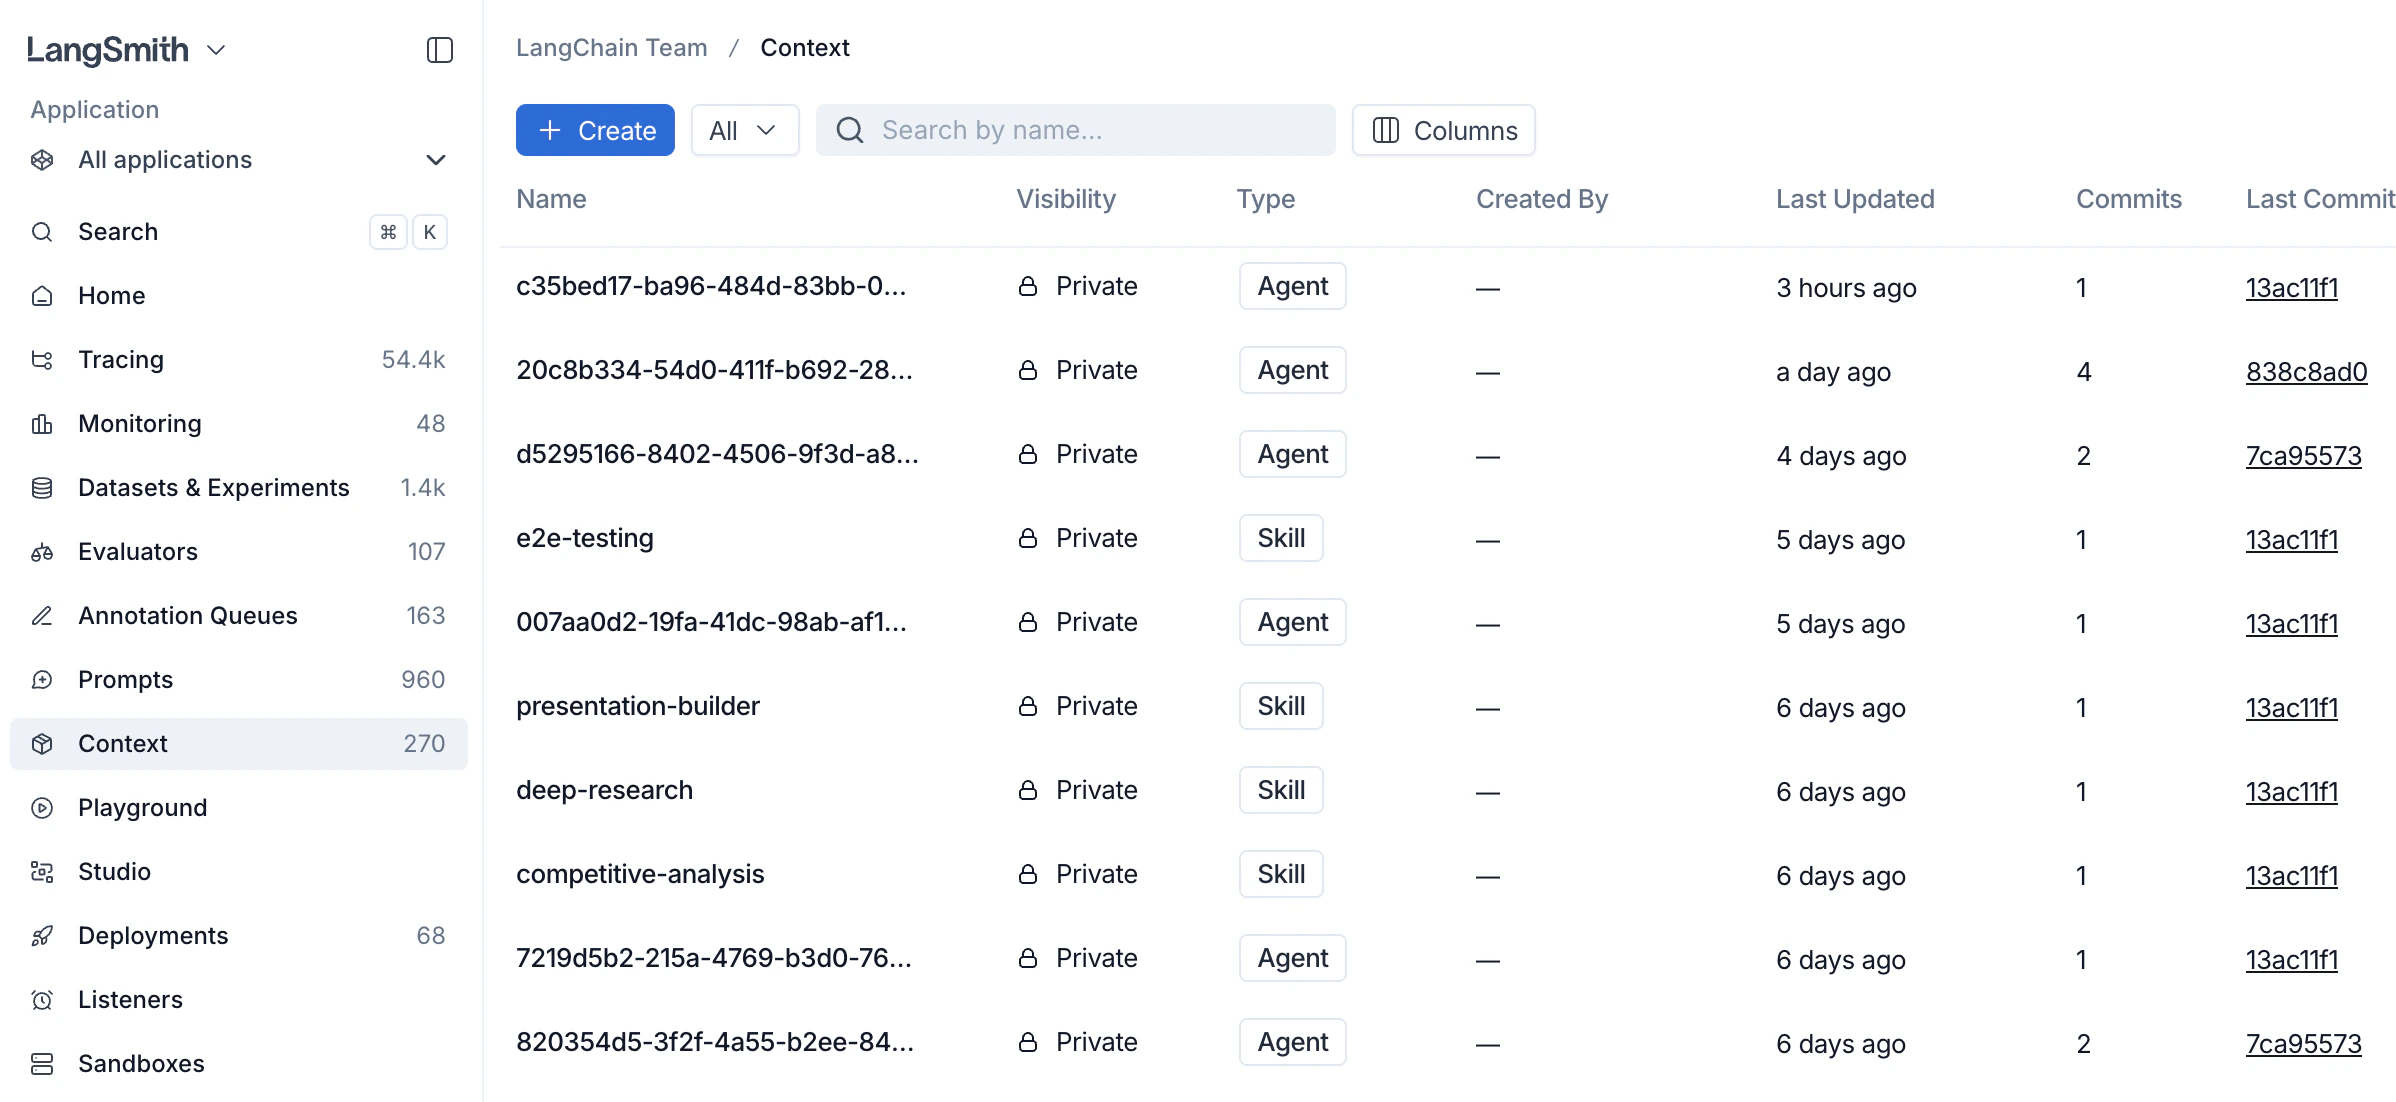
2. Create a context
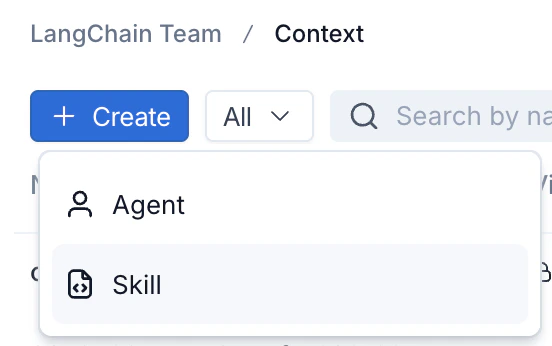
- Click + Create in the top left of the Context Hub.
-
Choose the context type:
- Agent: a full agent bundle including an
AGENTS.mdfile and tools. - Skill: a reusable capability that agents can use, including a
SKILL.mdfile.
- Agent: a full agent bundle including an
-
Fill in a name and description. For skills, a description is required. You can also enter the initial file contents (
SKILL.mdfor a skill,AGENTS.mdfor an agent) now, or add them after creation. Click Create Agent or Create Skill. LangSmith creates the repo and opens it for editing.
3. View a context
Click on an agent or skill from the Context Hub to view it.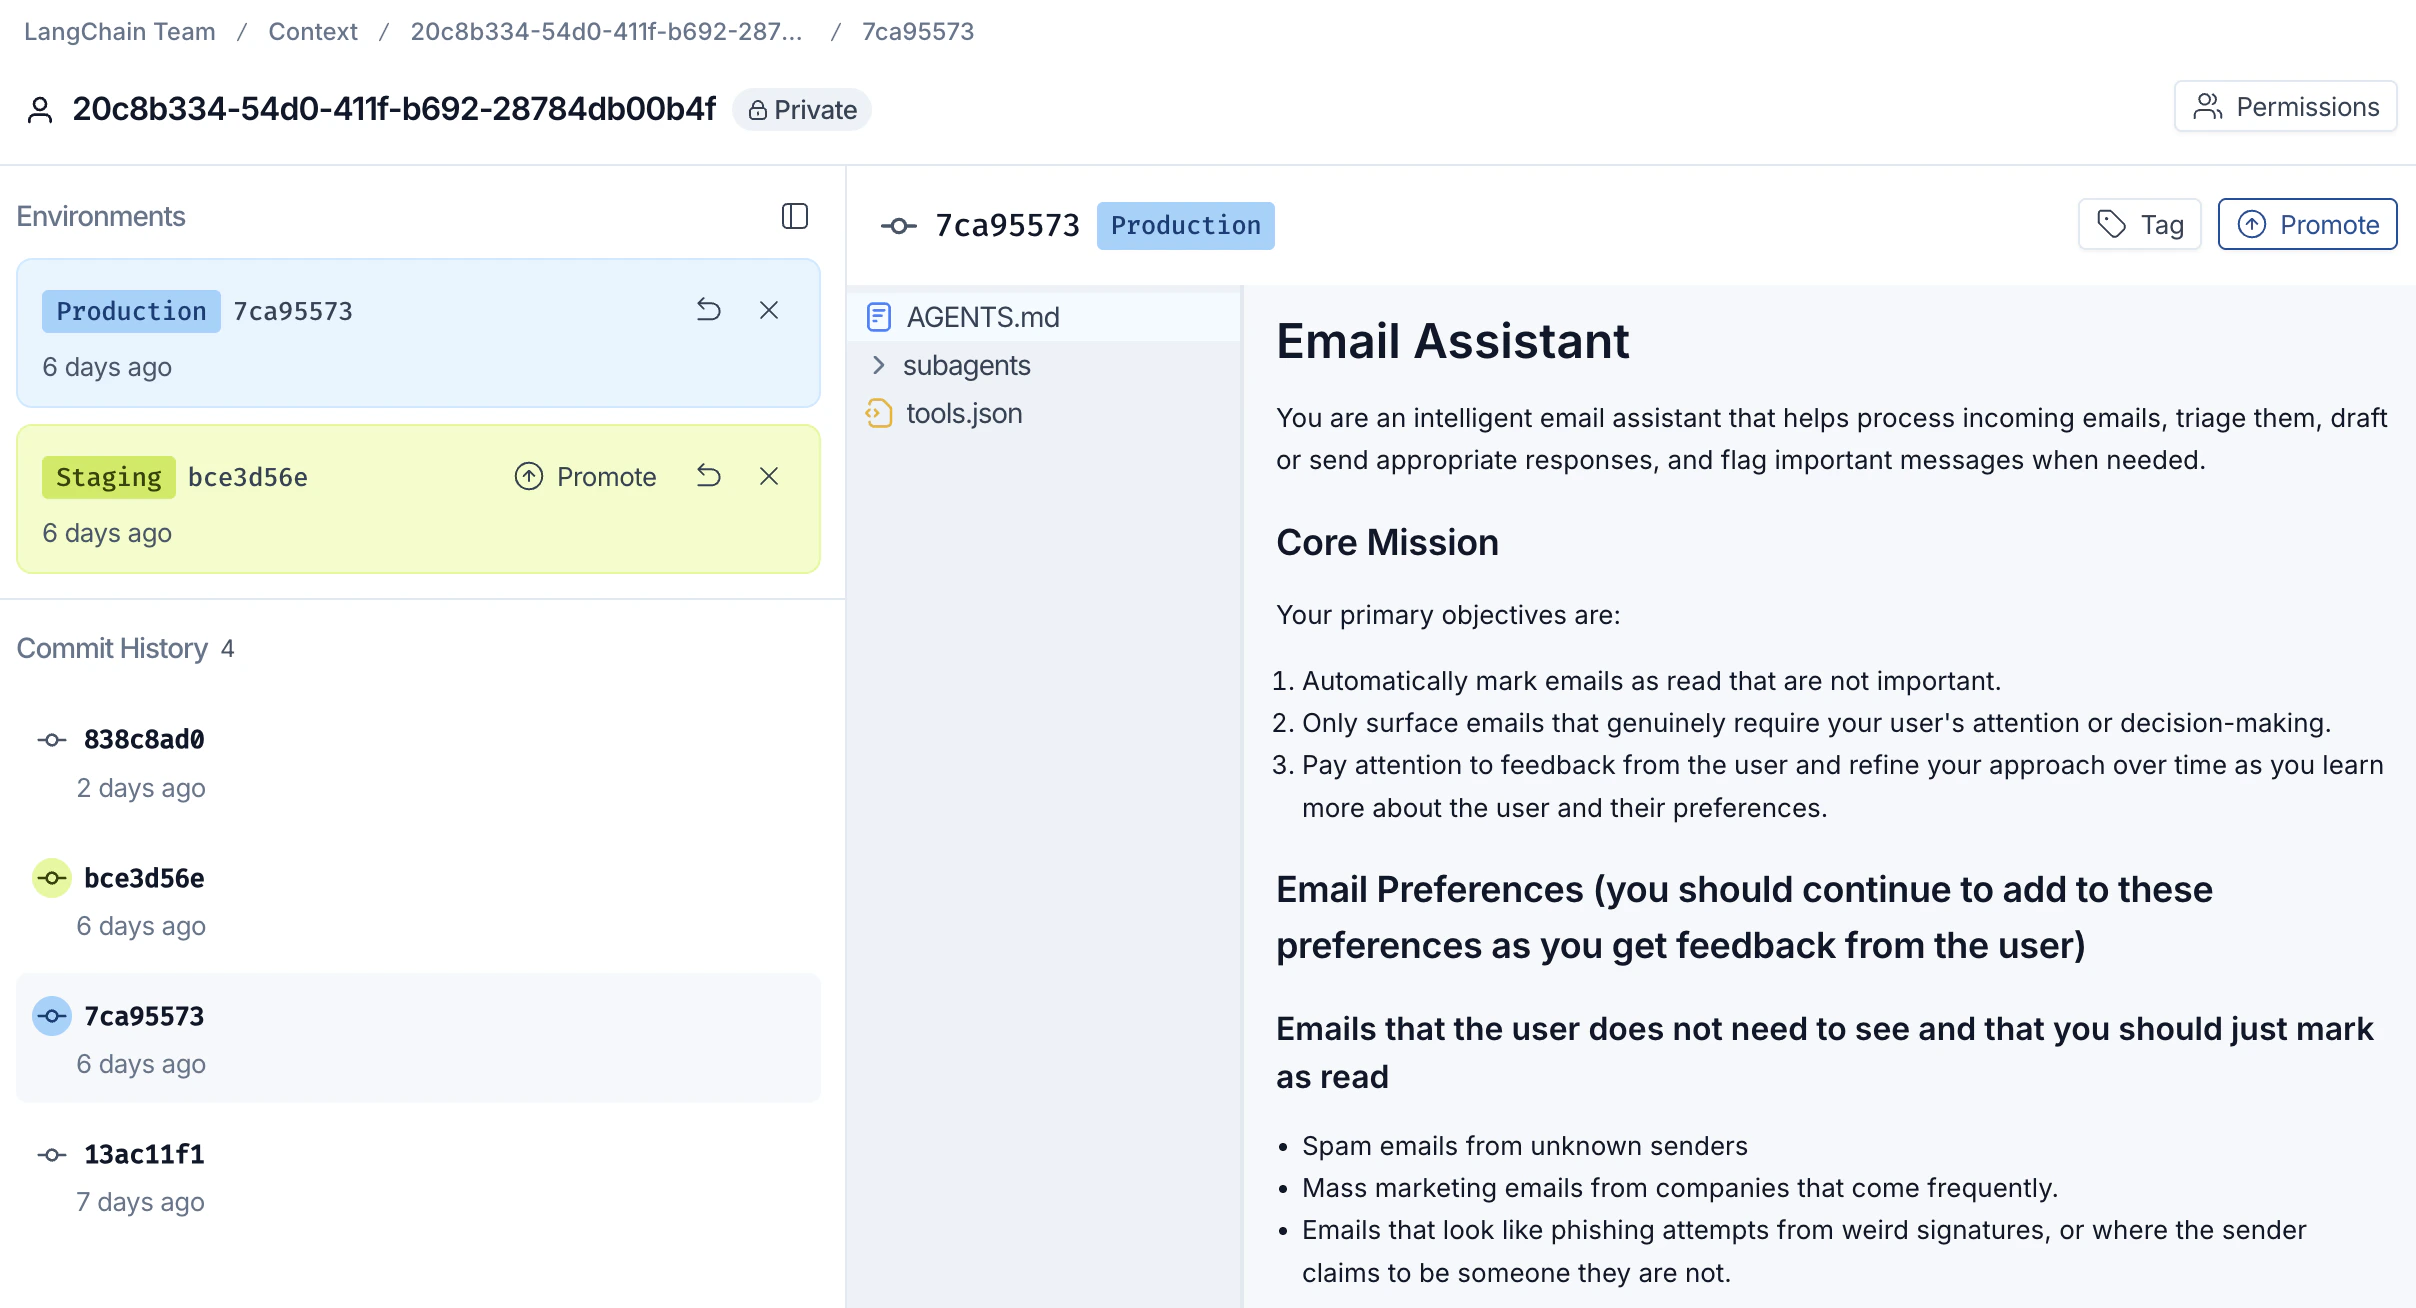
4. Tag and promote a commit
Once a commit is ready to ship, promote it to an environment so downstream agents can pull it.Context Hub currently supports two environment tags for promotion:
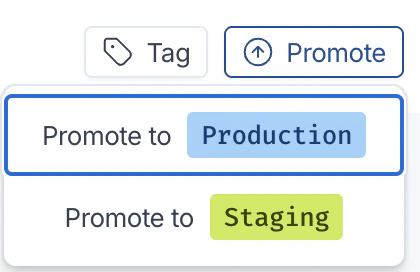
staging and production.- With the target commit selected, click Promote in the top right.
-
Choose the destination environment:
- Promote to Production: the commit your production agents pull.
- Promote to Staging: a pre-production environment for validation.
-
The environment label (for example,
Production 7ca95573) moves to the promoted commit. Use the Tag button next to Promote to attach a human-readable label to any commit for easy reference.
:production) now pull this promoted commit.
Next steps
- Context engineering concepts: learn about skills, agents, versioning, and sharing.
- Manage contexts with the SDK: push, pull, list, and delete contexts programmatically.
- Configure commit webhooks: send workspace Context Hub commits to an external HTTPS endpoint.
Connect these docs to Claude, VSCode, and more via MCP for real-time answers.