

- Domain-specific formatting: Display medical records, legal documents, or other specialized data types in their native format.
- Custom visualizations: Create charts, graphs, or diagrams from numeric or structured output data.
- Configure custom rendering in the LangSmith UI.
- Build a custom renderer to display output data.
- Understand where custom rendering appears in LangSmith.
Configure custom output rendering
Configure custom rendering at two levels:- For datasets: Apply custom rendering to all runs associated with that dataset, wherever they appear—in experiments, run detail panes, or annotation queues.
- For annotation queues: Apply custom rendering to all runs within a specific annotation queue, regardless of which dataset they come from. This takes precedence over dataset-level configuration.
For tracing projects
To configure custom output rendering for a tracing project: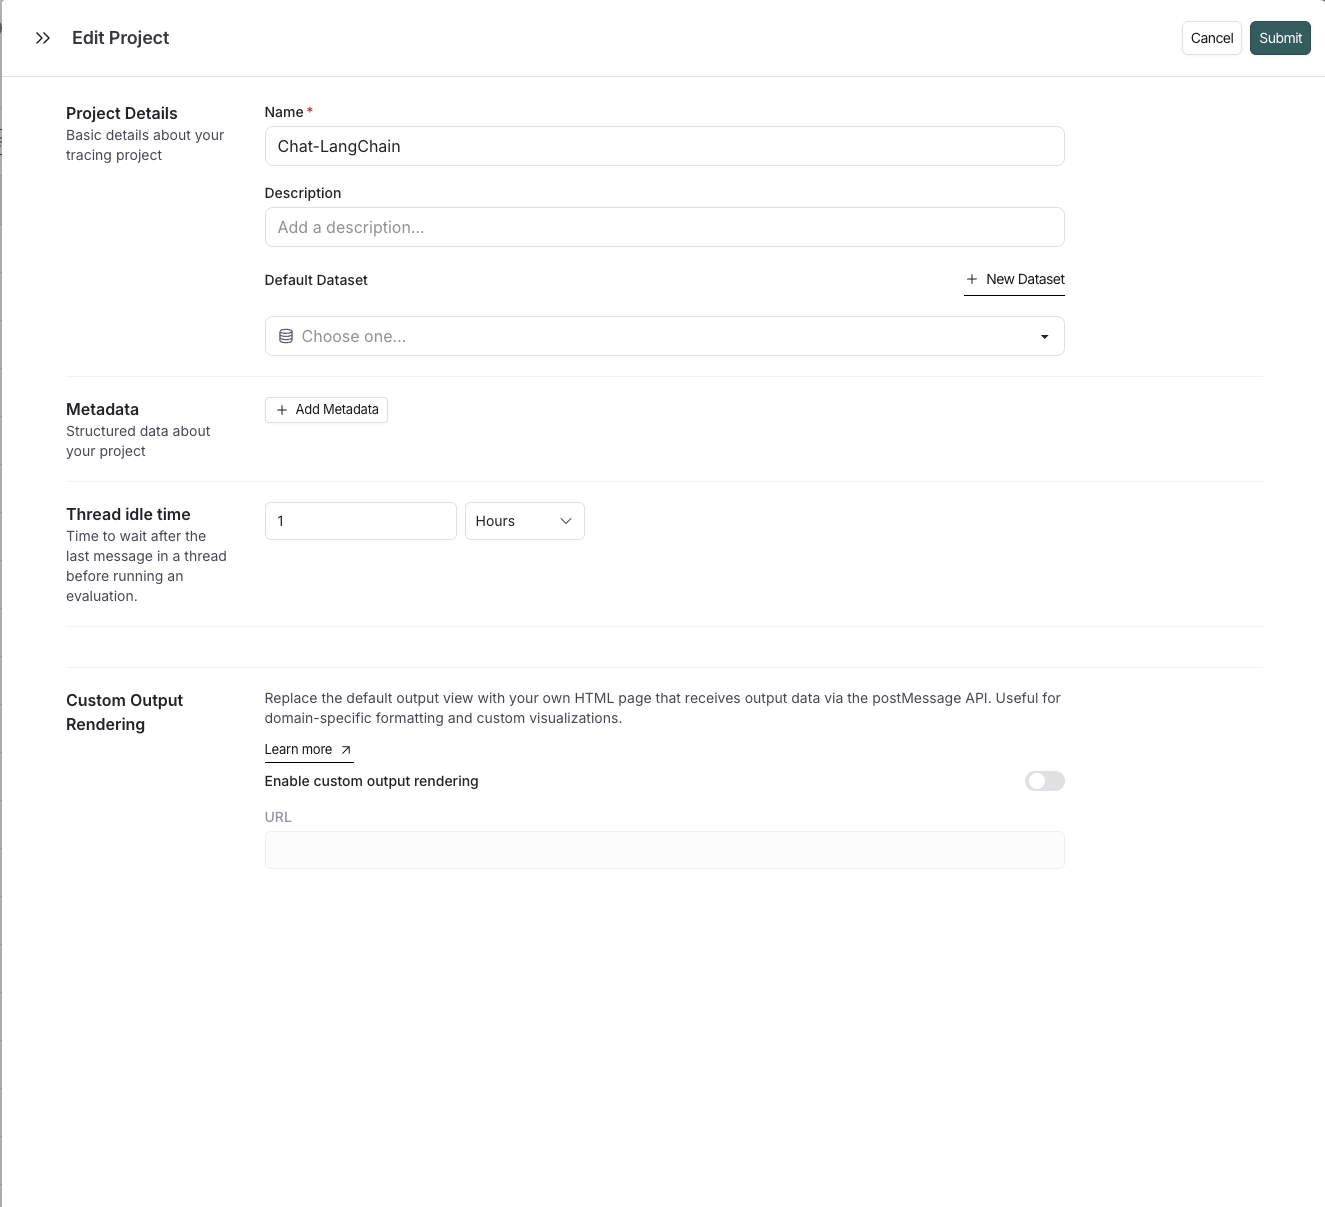
- Navigate to the Tracing Projects page.
- Click on an existing tracing project or create a new one.
- In the edit tracing project pane, scroll to the Custom Output Rendering section.
- Toggle Enable custom output rendering.
- Enter the webpage URL in the URL field.
- Click Save.
For datasets
To configure custom output rendering for a dataset: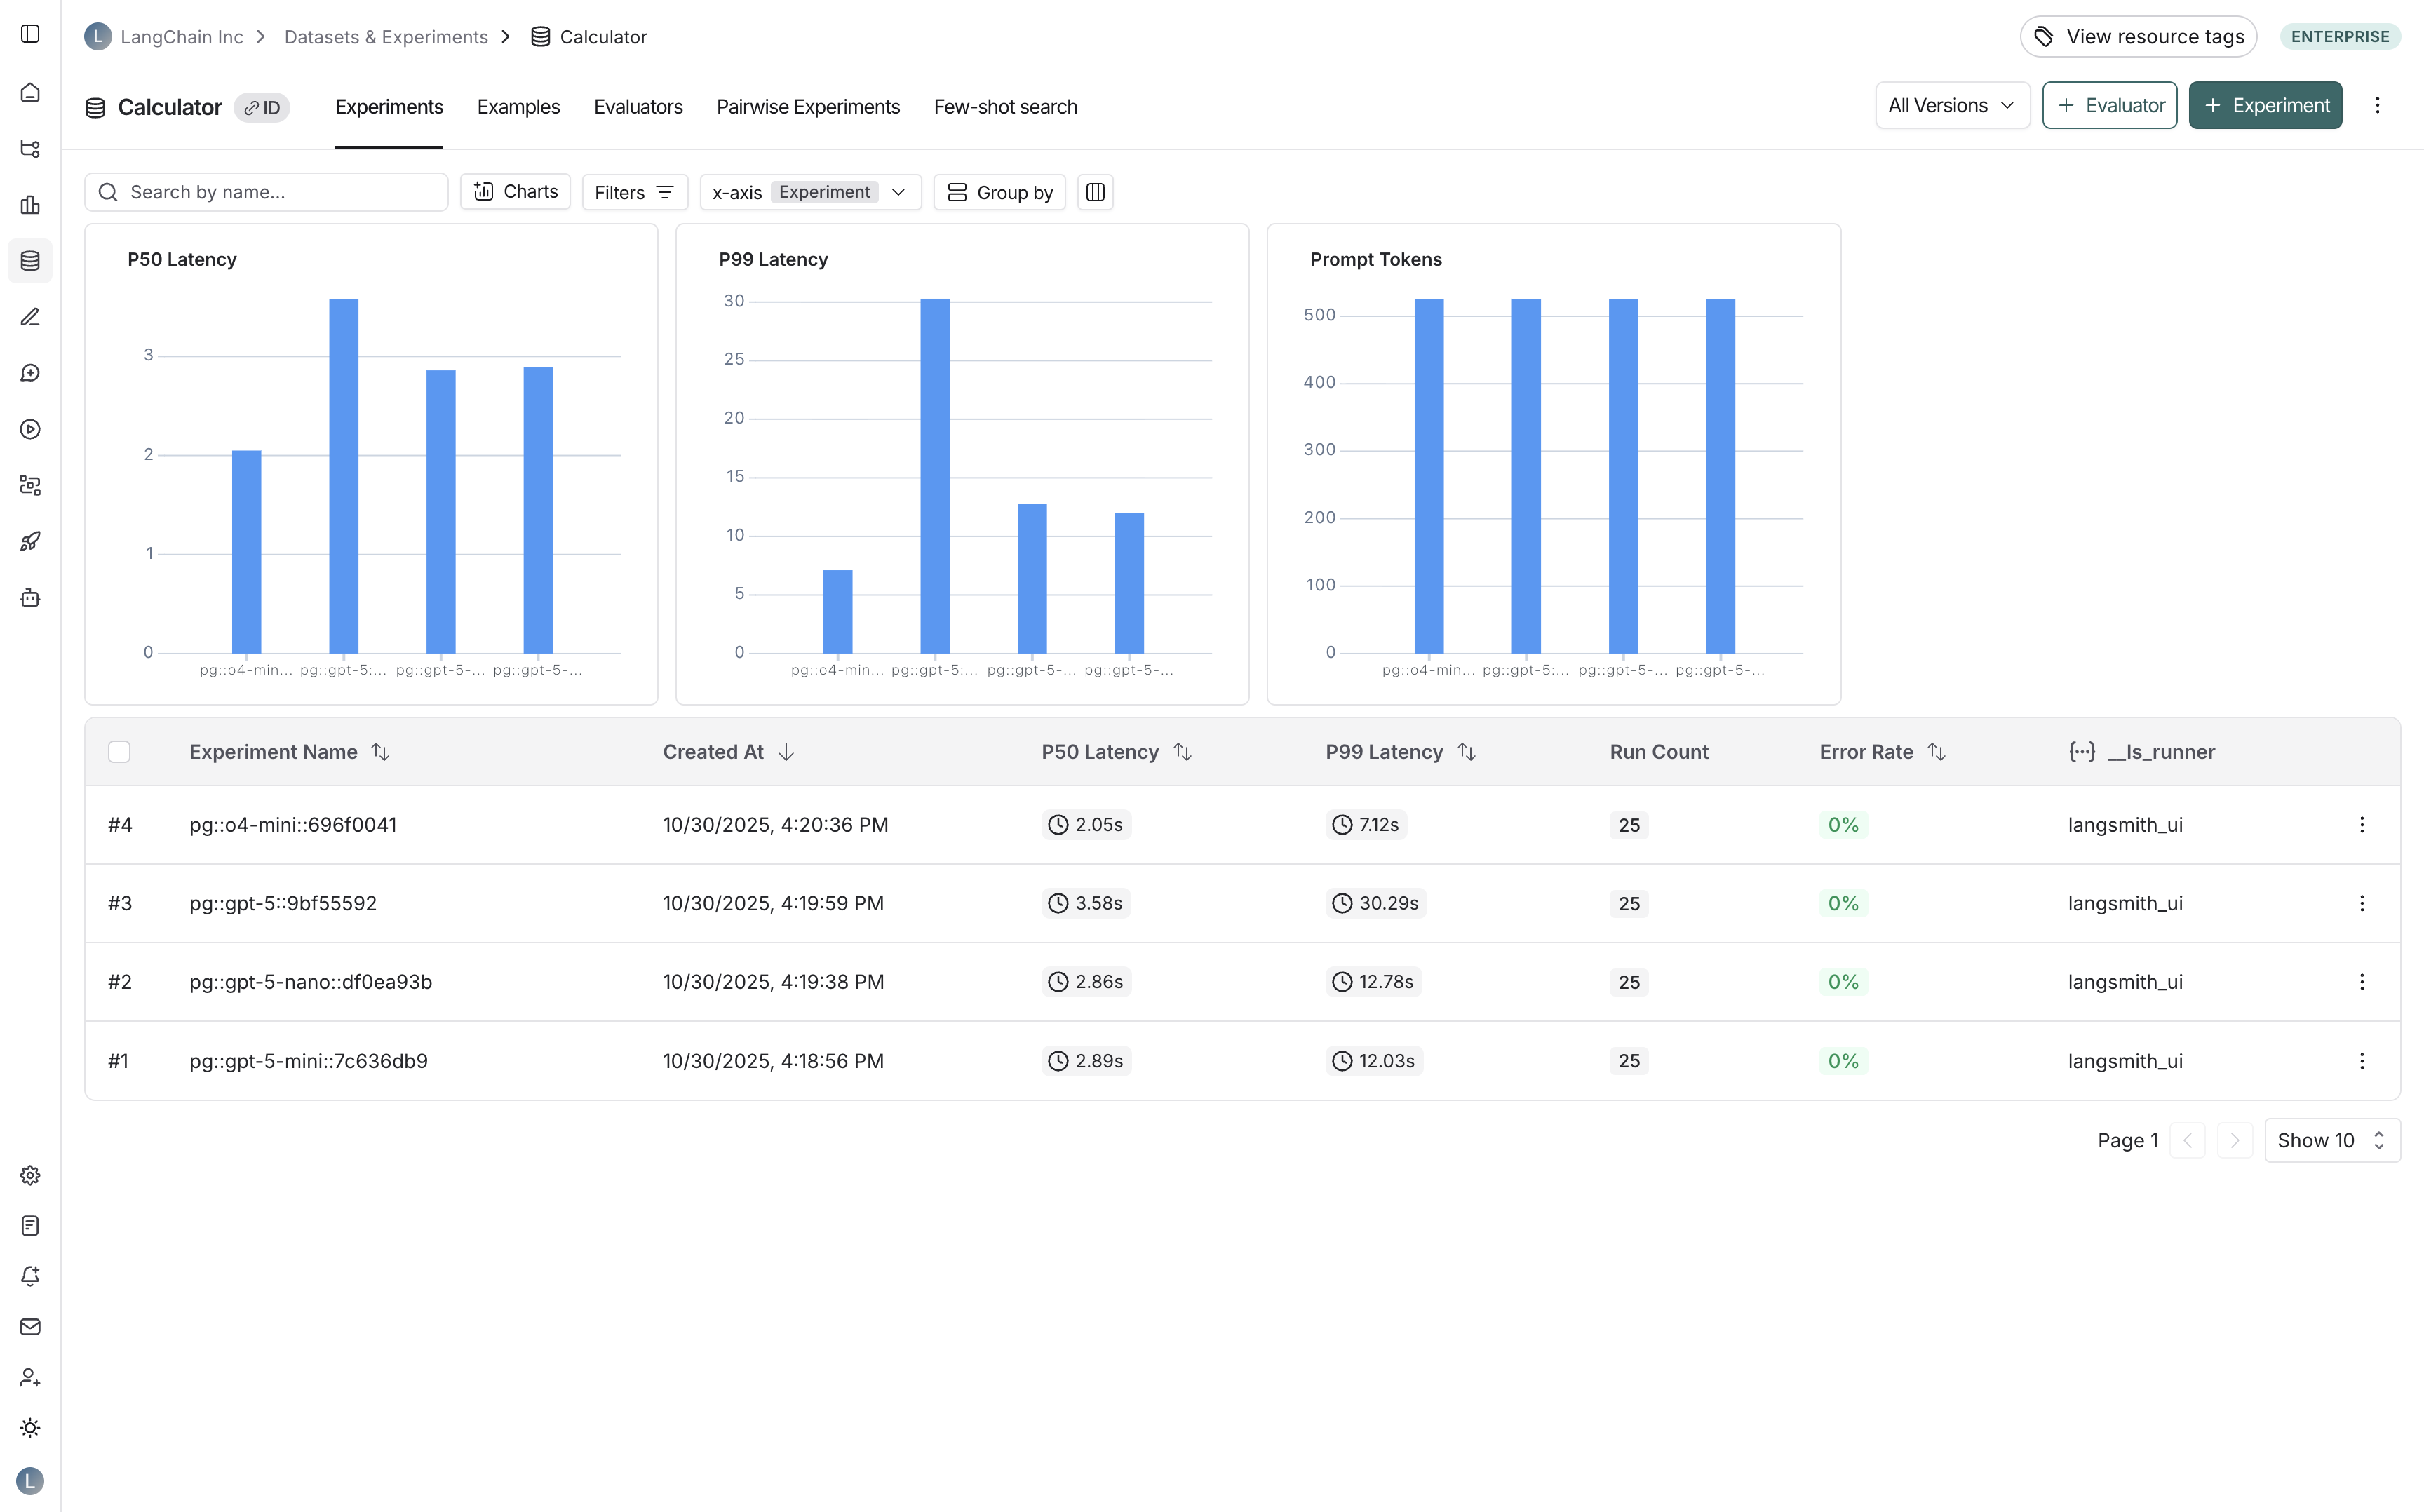
- Navigate to your dataset in the Datasets & Experiments page.
- Click ⋮ (three-dot menu) in the top right corner.
- Select Custom Output Rendering.
- Toggle Enable custom output rendering.
- Enter the webpage URL in the URL field.
- Click Save.
For annotation queues
To configure custom output rendering for an annotation queue: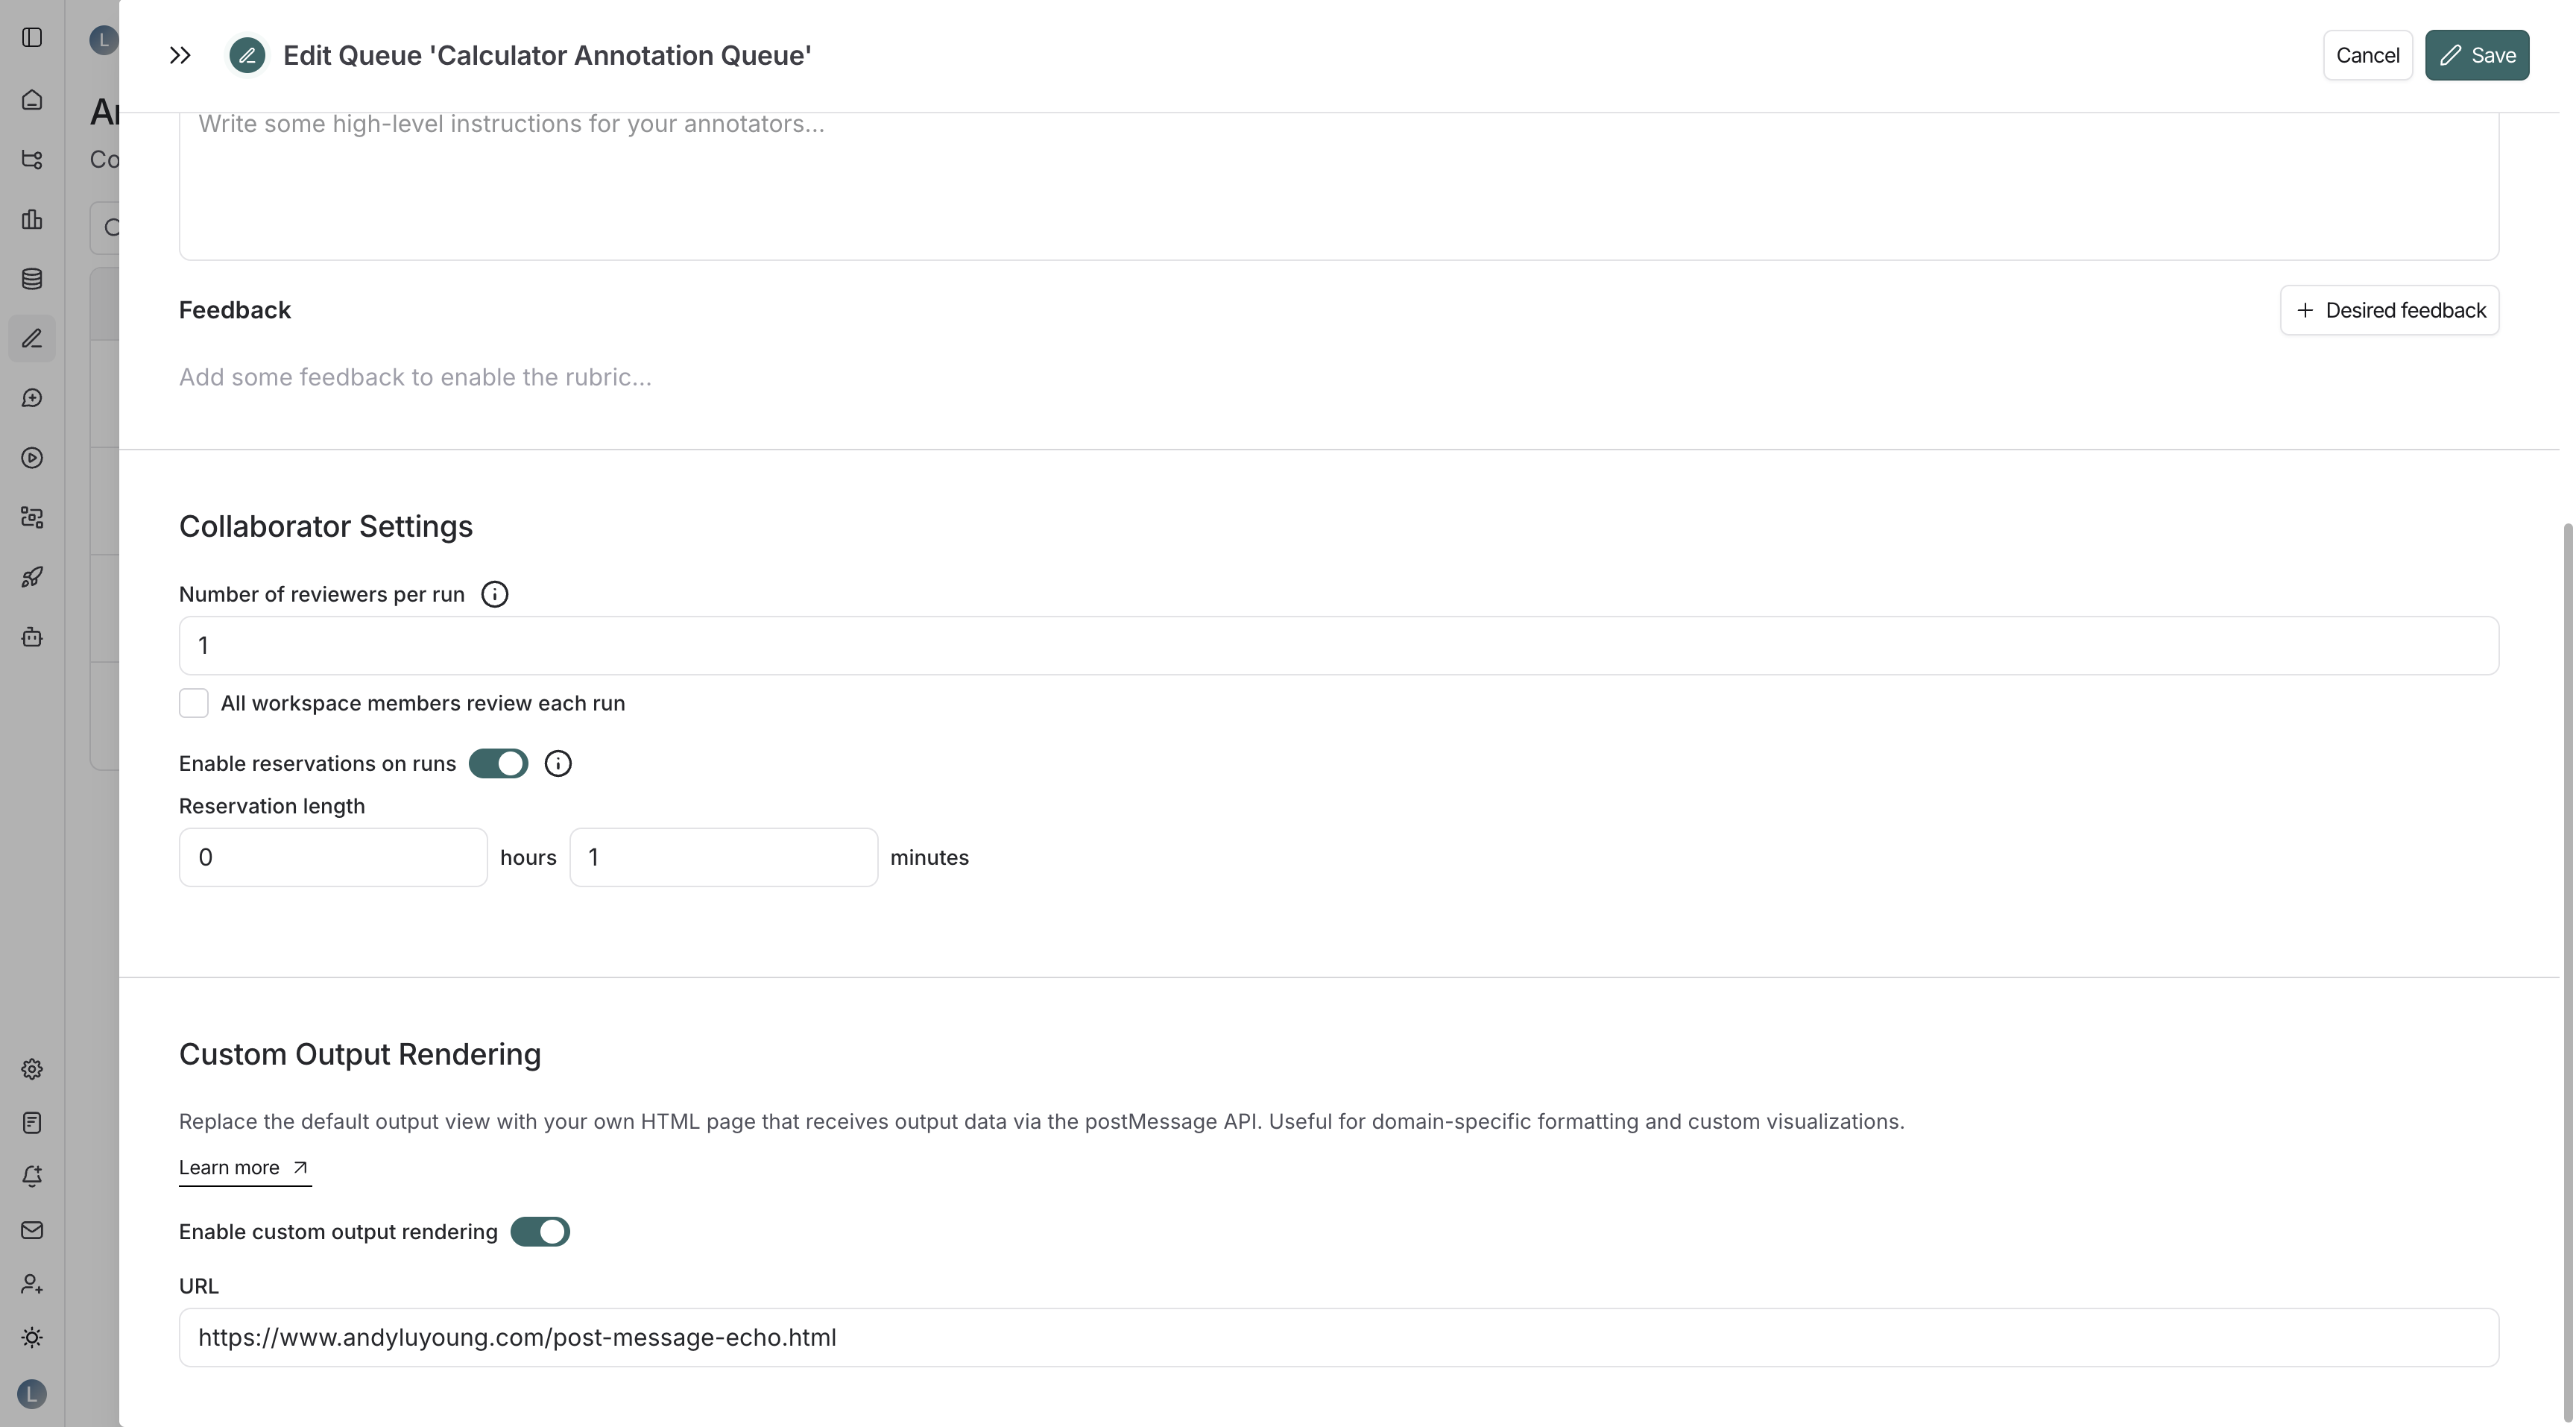
- Navigate to the Annotation Queues page.
- Click on an existing annotation queue or create a new one.
- In the annotation queue settings pane, scroll to the Custom Output Rendering section.
- Toggle Enable custom output rendering.
- Enter the webpage URL in the URL field.
- Click Save or Create.
When custom rendering settings are applied at multiple levels, the precedence is as follows: annotation queue > dataset > tracing project.
Build a custom renderer
Understand the message format
Your HTML page will receive output data via the postMessage API. LangSmith sends messages with the following structure:type: Indicates whether this is an actual output ("output") or a reference output ("reference").data: The output data itself.metadata.inputs: The input data that generated this output, provided for context.
Message delivery timing: LangSmith uses an exponential backoff retry mechanism to ensure your page receives the data even if it loads slowly. Messages are sent up to 6 times with increasing delays (100ms, 200ms, 400ms, 800ms, 1600ms, 3200ms).
Example implementation
This example listens for incoming postMessage events and displays them on the page. Each message is numbered and formatted as JSON, making it easy to inspect the data structure LangSmith sends to your renderer.Where custom rendering appears
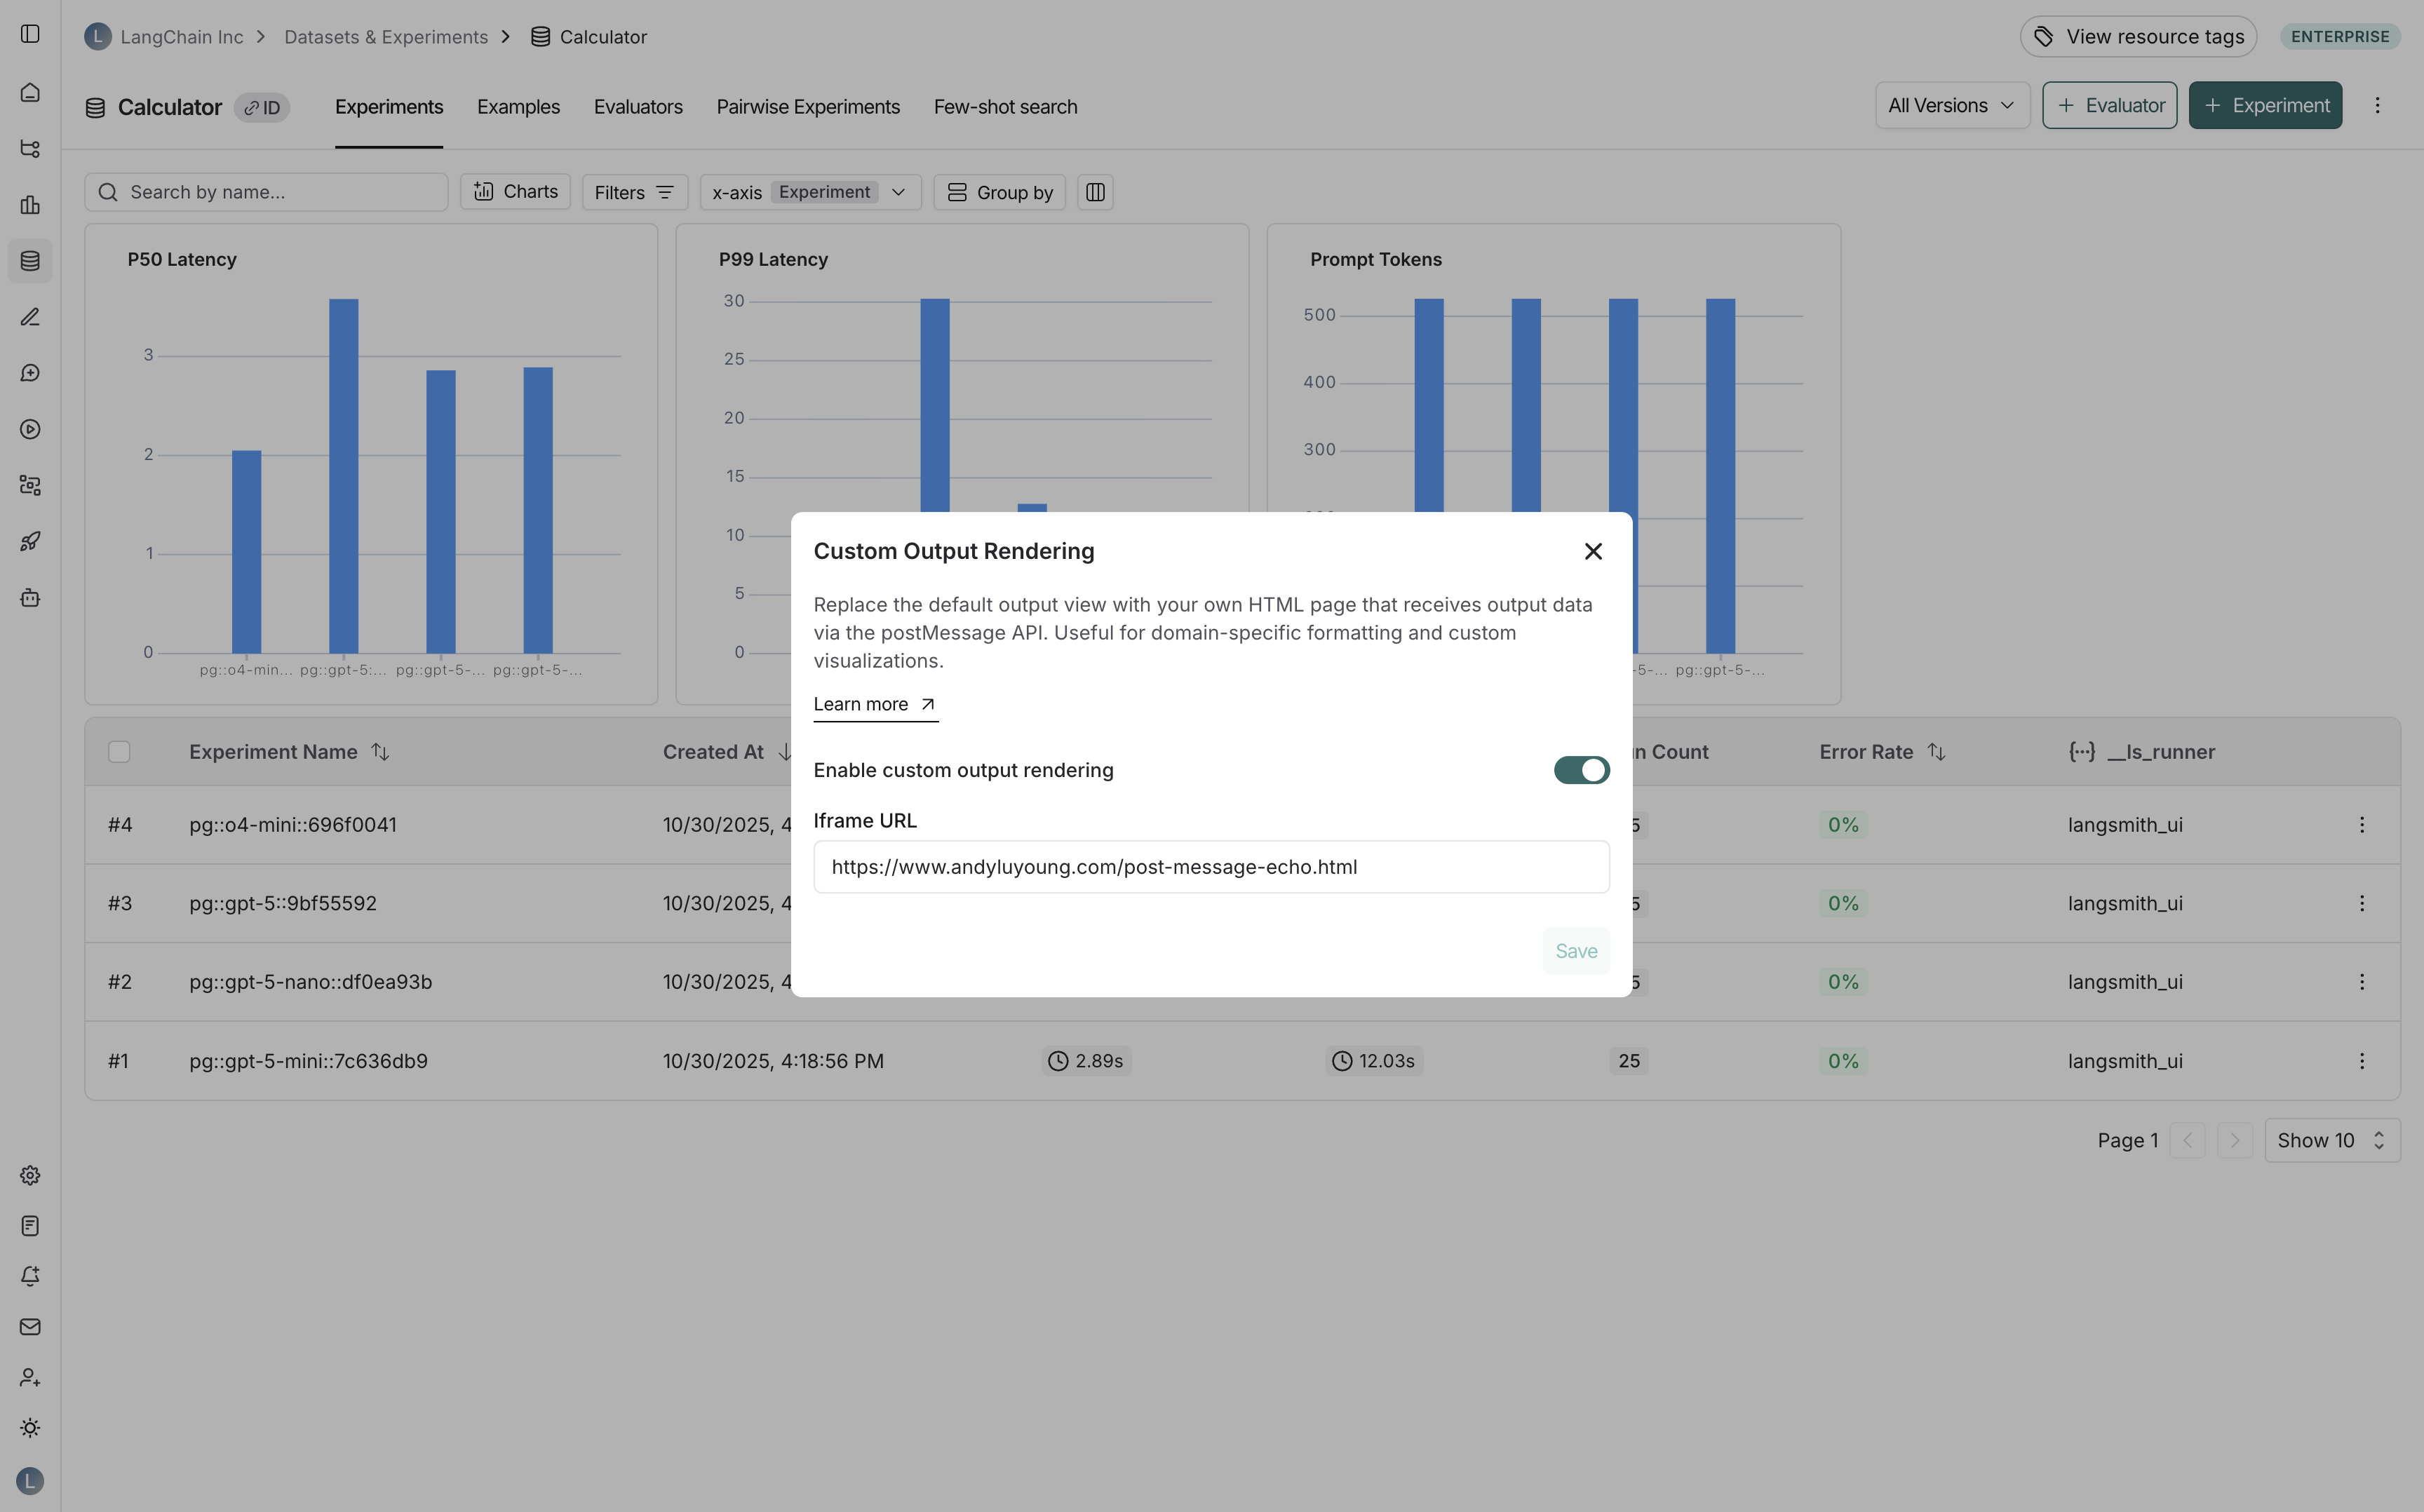
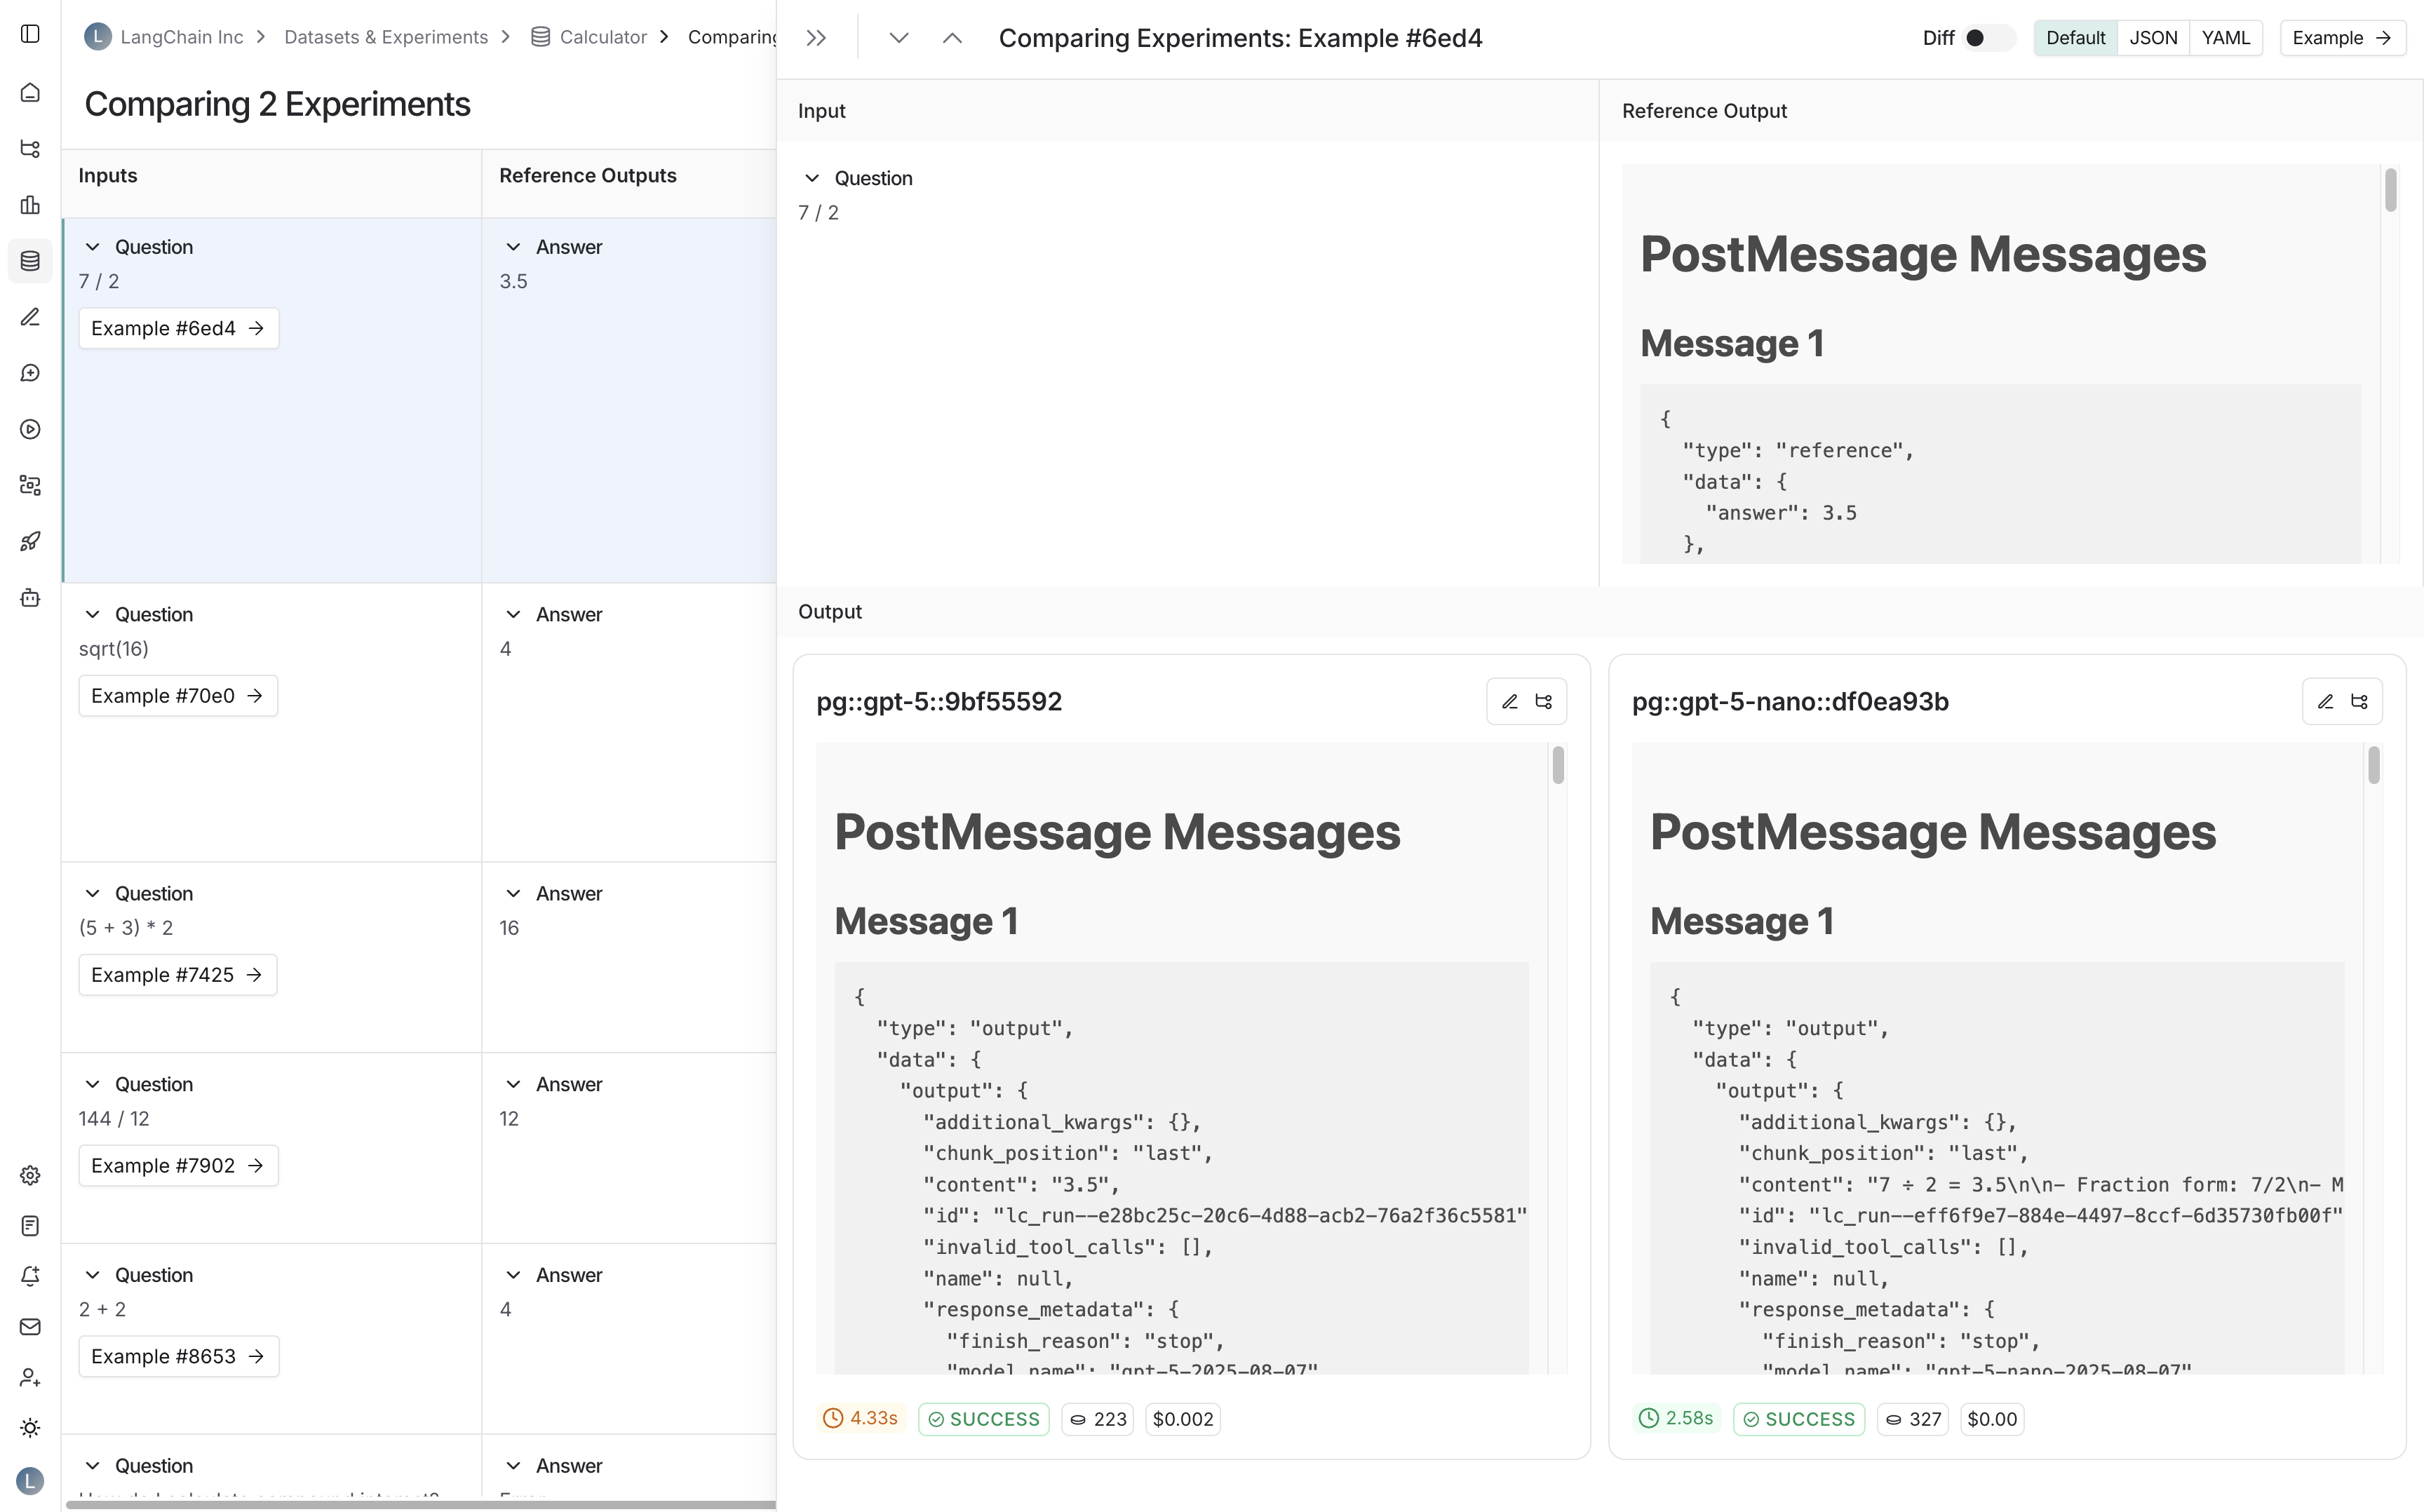
When enabled, your custom rendering will replace the default output view in:- Experiment comparison view: When comparing outputs across multiple experiments:
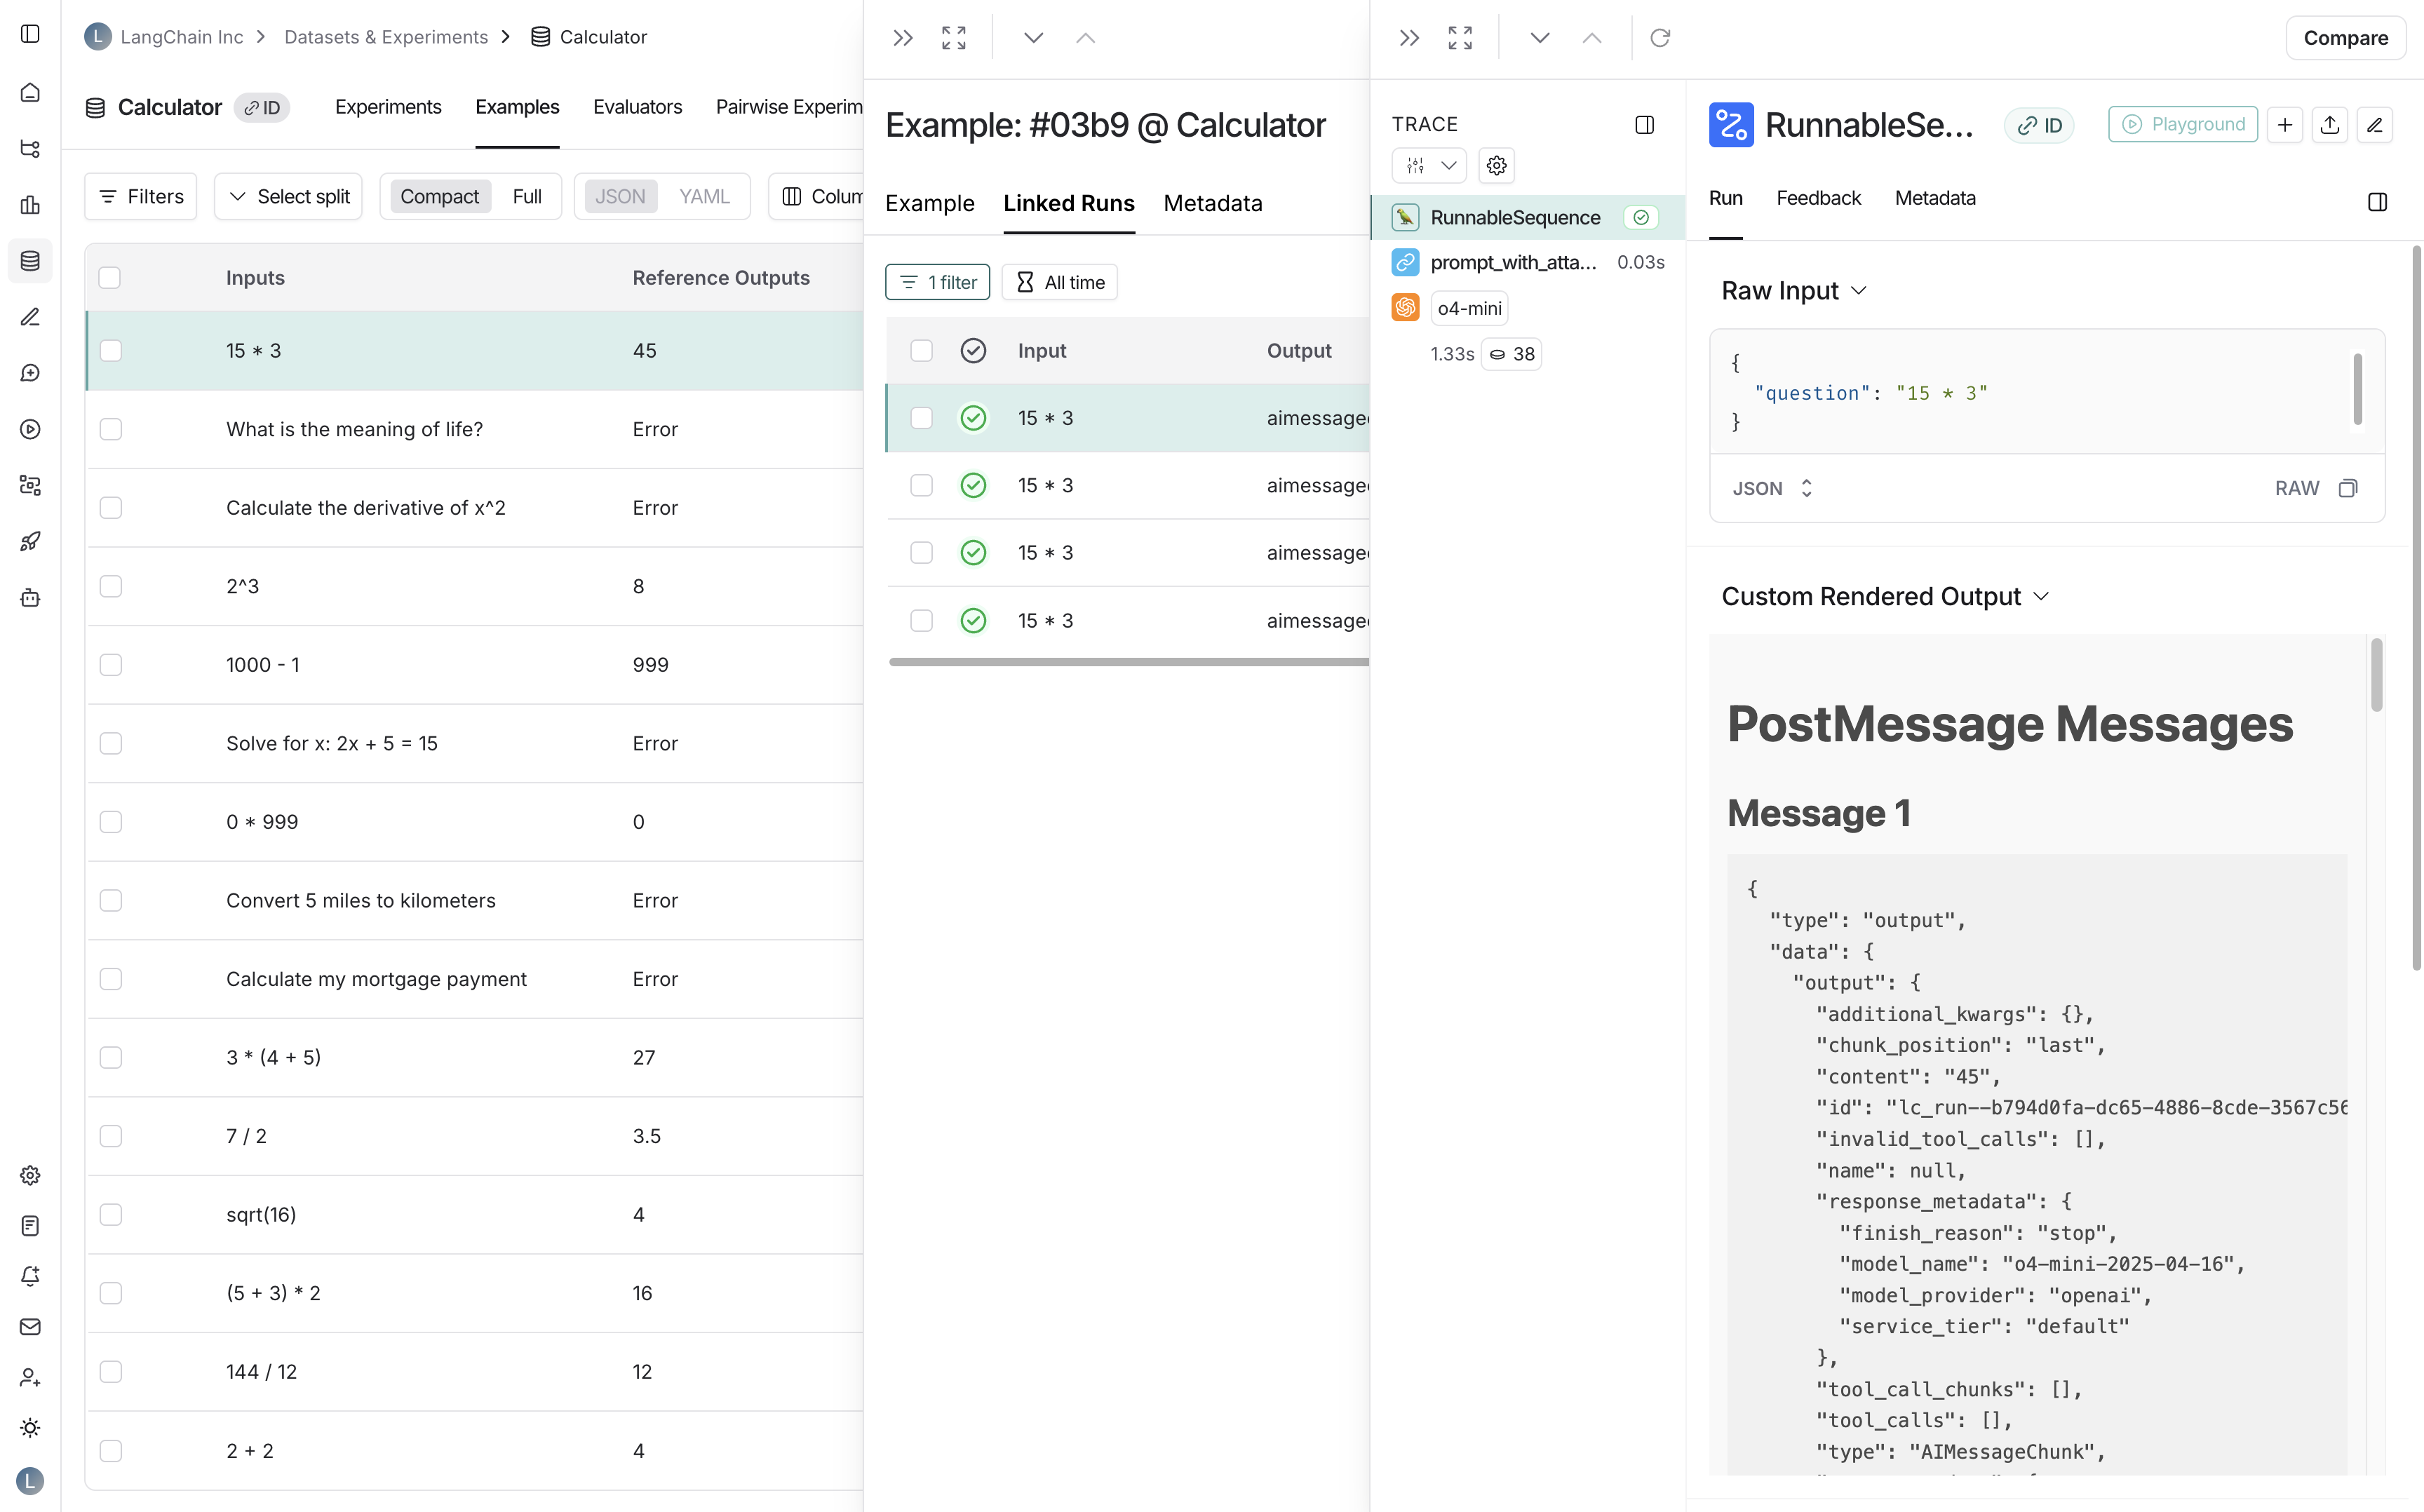
- Run detail panes: When viewing runs that are associated with a dataset:
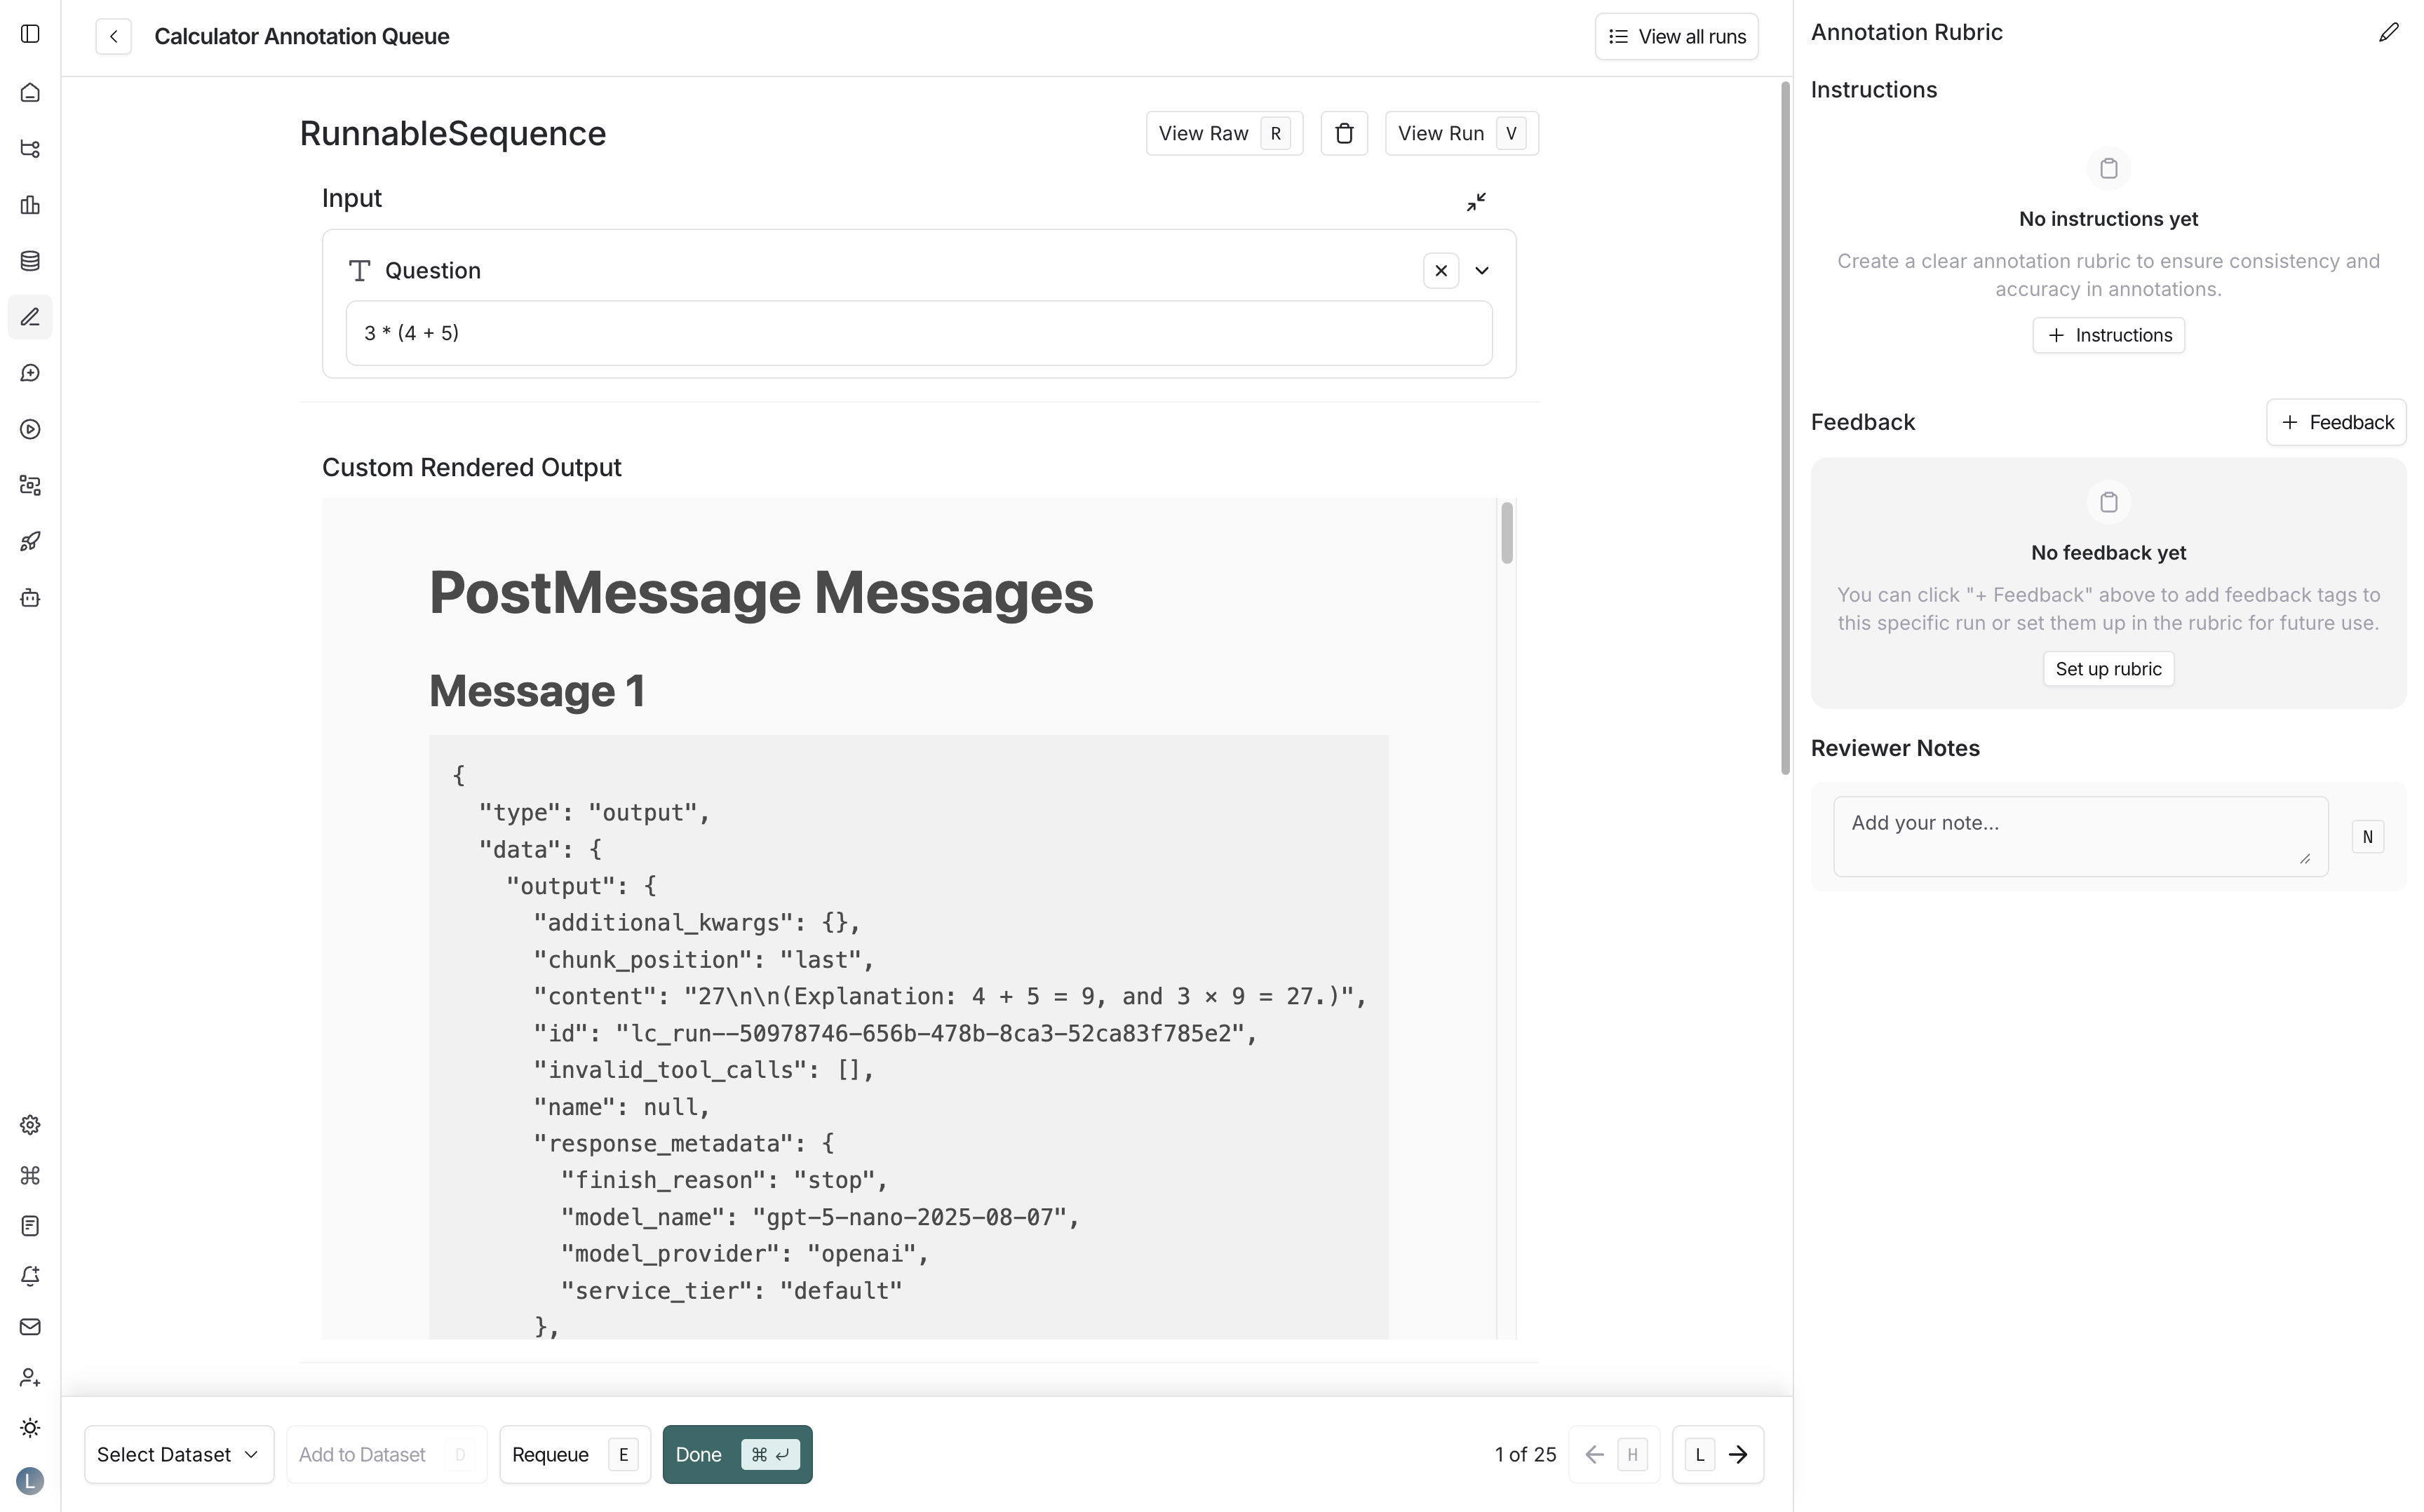
- Annotation queues: When reviewing runs in annotation queues:
Connect these docs to Claude, VSCode, and more via MCP for real-time answers.