

- Environments for promoting commits through Staging and Production.
- Commit tags for version control and environment management.
- Prompt owners for controlling who can promote commits and delete a prompt.
- Webhook triggers for automating workflows when prompts are updated.
- Public prompt hub for discovering and using community-created prompts.
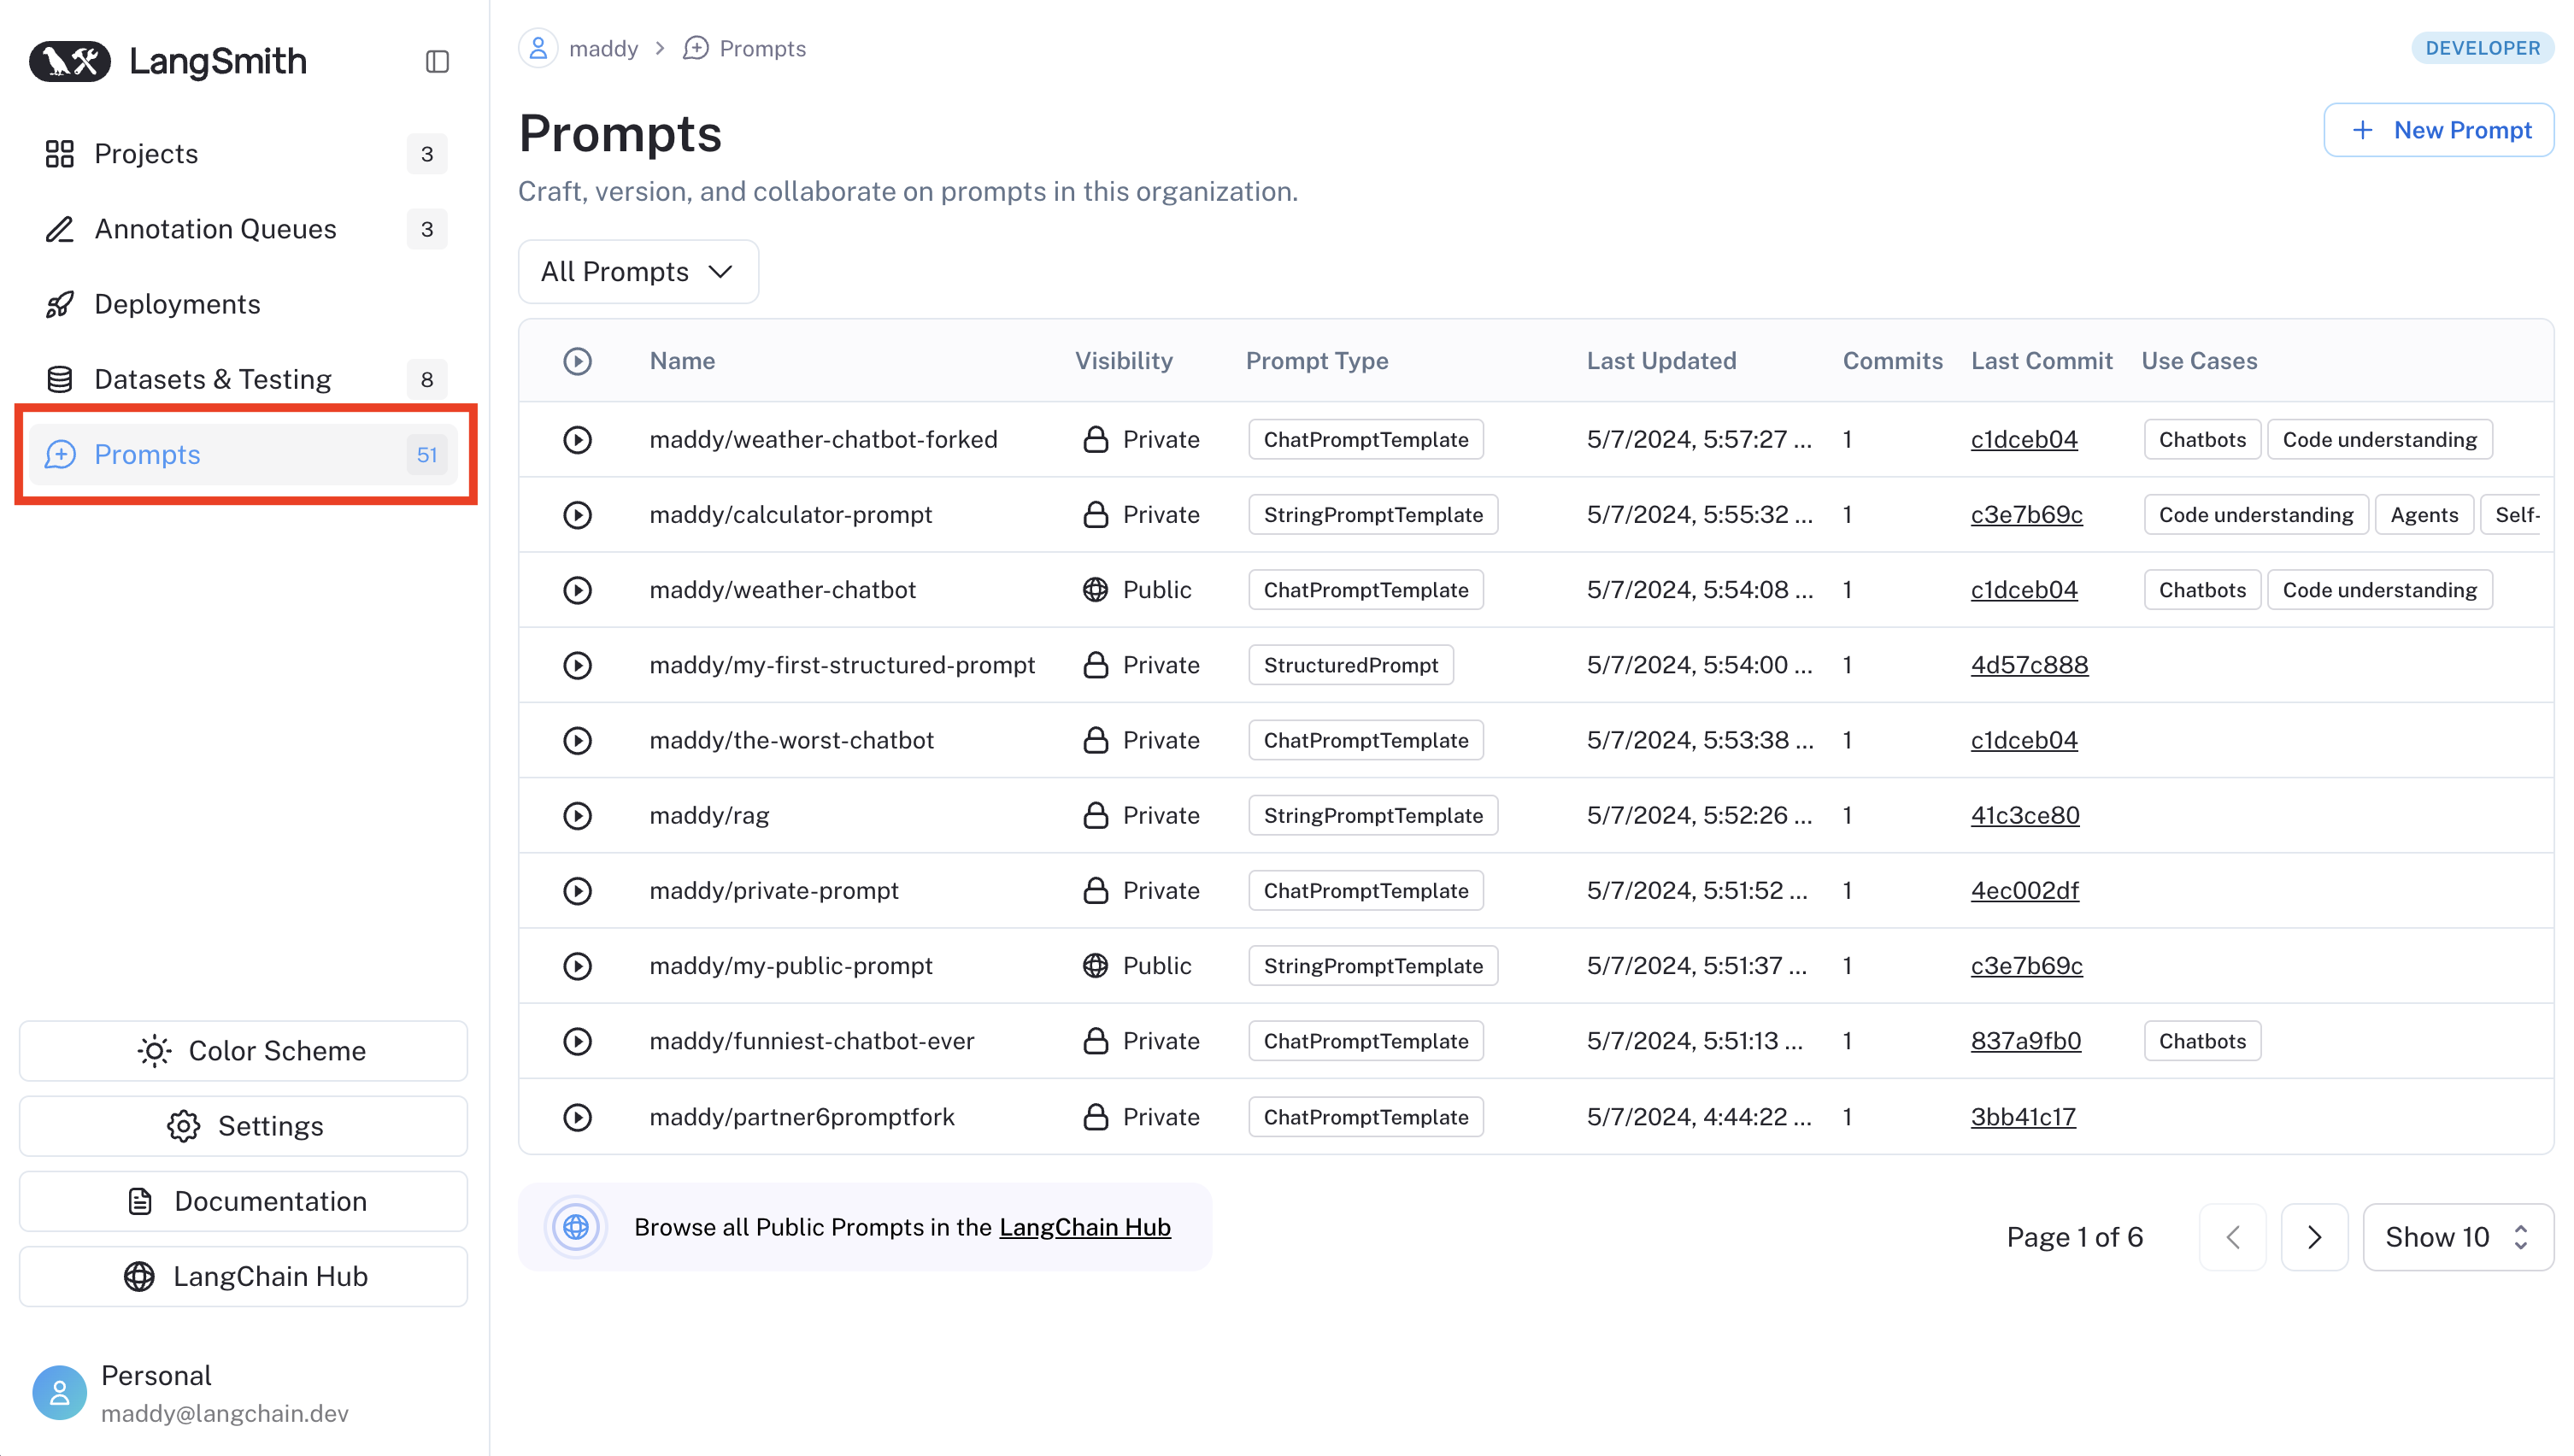
Prompt detail page
Select a prompt from the Prompts table to open its detail page, which uses a two-pane layout: commit history and environments appear on the left, and commit details appear on the right. You can compare a commit with its previous version by toggling Diff in the top-right corner.Environments
Environments represent named deployment targets, Staging and Production, that you can assign to specific commits. They let you track which version of a prompt is active in each environment and promote commits between them. Environments are defined by reserved commit tags (staging and production) that are managed through the promotion UI rather than the freeform tag picker.
Promote a commit
Promoting a commit assigns it to an environment. You can promote any commit to Staging or Production. To promote a commit:- Hover over a commit in the left pane to reveal Promote, or click Promote in the upper-right corner of the page. Select Staging or Production from the dropdown.
- A deployment modal opens, showing which commit is currently assigned to that environment and will be replaced.
- Confirm the promotion. The environment pointer updates immediately.
Promoting a commit to Production does not remove it from Staging. If a commit is in Staging and you promote it to Production, it remains in Staging as well.
Roll back an environment
Each environment maintains an ordered history of which commits were assigned to it and when. To roll back to a previous commit:- In the left pane, find the environment you want to roll back.
- Click the rollback icon for that environment.
- From the displayed Rollback history, select the commit you want to roll back to. The environment pointer will update to that commit.
Commit tags
Commit tags are labels that reference a specific commit in your prompt’s version history. They help you mark significant versions and control which versions run in different environments. By referencing tags rather than commit IDs in your code, you can update which version is being used without modifying the code itself. Each tag references exactly one commit, though you can reassign a tag to point to a different commit.Reserved tags: The
staging and production tags are reserved for environment management and are not enabled in the freeform tag picker. Use the promotion flow to assign commits to these environments.Not to be confused with resource tags: Commit tags are specific to prompt versioning and reference individual commits in a prompt’s history. Resource tags are key-value pairs used to organize workspace resources like projects, datasets, and prompts. While both can use similar naming conventions (like
prod or staging), commit tags control which version of a prompt runs, while resource tags help you organize and filter resources across your workspace.Create a tag
To create a tag, select the commit you want to tag in the left pane of the prompt detail page. Click Tag at the top right of the right pane. In the dropdown, click Commit Tag and enter a name.Move a tag
To point a tag to a different commit, select the destination commit in the left pane of the prompt detail page. Click Tag at the top right of the right pane. In the dropdown, select the tag you want to move. This automatically updates the tag to point to the new commit.Delete a tag
To delete a tag, click Tag at the top right of the right pane. (It does not matter which commit is selected). In the dropdown, click the delete icon next to the tag you want to delete. This removes the tag entirely and it will no longer be associated with any commit.Use tags in code
Tags provide a stable way to reference specific versions of your prompts in code. Instead of using commit hashes directly, you can reference tags that can be updated without changing your code. Here is an example of pulling a prompt by tag in Python:Prompt owners
The prompt owners feature gives you fine-grained control over who can tag commits and delete a specific prompt. This is useful for production promotion flows where you want to limit which team members can promote a commit to an environment by assigning or moving tags.Access modes
Each prompt has two access modes, configured under Access and Permissions in the UI:- Workspace authorized users (default): any workspace user with the
prompts:tagpermission can create, update, and delete tags and delete the prompt. - Owners only: only users added as prompt owners can create or update commit tags, promote commits to environments, and delete the prompt.
Configure access and permissions
- Open the prompt in the LangSmith UI.
- Click the More icon in the upper-right corner and select Access and Permissions.
- Select Owners only mode.
- Add or remove users from the owners group.
Trigger a webhook on prompt commit
You can configure a webhook to be triggered whenever a commit is made to a prompt. Some common use cases of this include:- Triggering a CI/CD pipeline when prompts are updated.
- Synchronizing prompts with a GitHub repository.
- Notifying team members about prompt modifications.
Configure a webhook
Navigate to the Prompts section in the left-hand sidebar or from the application homepage. In the top right corner, click on the+ Webhook button.
Add a webhook URL and any required headers.
You can only configure one webhook per workspace. If you want to configure multiple per workspace or set up a different webhook for each prompt, let us know in the LangChain Forum.
prompt_id: The ID of the prompt that was committed.prompt_name: The name of the prompt that was committed.commit_hash: The commit hash of the prompt.created_at: The date of the commit.created_by: The author of the commit.manifest: The manifest of the prompt.
Trigger the webhook
Commit to a prompt to trigger the webhook you’ve configured.Use the Playground
If you do this in the Playground, you’ll be prompted to deselect the webhooks you’d like to avoid triggering.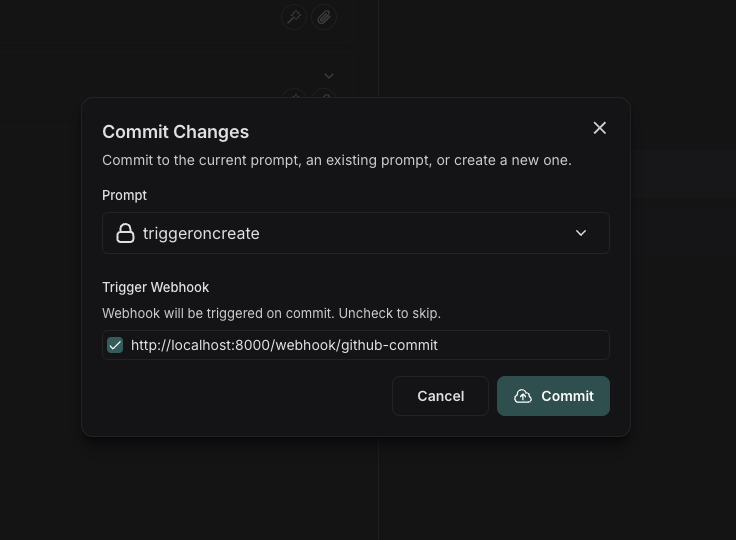
Using the API
If you commit via the API, you can specify to skip triggering the webhook by setting theskip_webhooks parameter to true or to an array of webhook ids to ignore. Refer to the API docs for more information.
Public prompt hub
LangSmith’s public prompt hub is a collection of prompts that have been created by the LangChain community that you can use for reference.Note that prompts are user-generated and unverified. LangChain does not review or endorse public prompts, use these at your own risk. Use of Prompt Hub is subject to our Terms of Service.
Connect these docs to Claude, VSCode, and more via MCP for real-time answers.